Let’s be honest, the first time your pressure cooker refused to come to pressure, you probably felt a little pang of panic. You checked the sealing ring, you made sure the lid was locked, but nothing. It just sat there, hissing softly, refusing to work its magic. Ninety-nine times out of a hundred, the culprit is a tiny, often-overlooked hero of the pressure cooking world: the float valve. Understanding What Is The Float Valve For Cleaning and maintenance is the secret handshake to becoming a true pressure cooker pro. It’s the difference between a frustrating kitchen experience and a perfectly cooked, fall-off-the-bone pot roast in under an hour.
That little silver pin that pops up and down isn’t just for show. It’s a critical safety and operational component. When it gets gunked up with food particles or mineral deposits, it can’t move freely, preventing your cooker from sealing and building pressure correctly. This guide will walk you through everything you need to know, transforming you from a worried user into a confident cook who knows their machine inside and out.
So, What Exactly Is This Float Valve?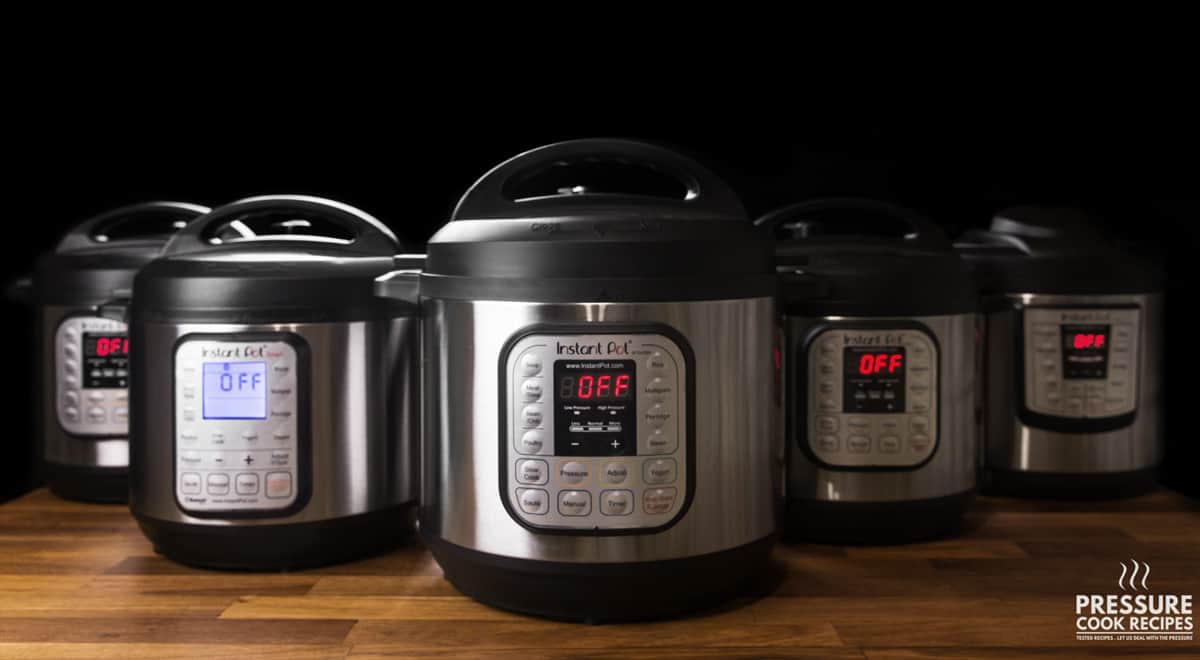
Think of the float valve as the bouncer at an exclusive nightclub. Its job is to make sure the door (the lid) is properly locked and secured before the party (the pressure) gets started inside. It’s a simple metal pin that sits inside a small hole in your pressure cooker’s lid, held in place from the underside by a small silicone cap.
When you start heating the contents of your cooker, steam begins to form. This initial steam pushes the float valve pin upwards. Once it rises high enough, it plugs the hole it sits in and simultaneously engages a locking mechanism that prevents the lid from being opened. Only when the float valve is in this “up” position can the cooker begin to build and maintain pressure. When you release the pressure after cooking, the pin drops back down, indicating that it’s safe to open the lid. It’s both a pressure indicator and a safety lock, all in one tiny package.
Why a Clean Float Valve is Non-Negotiable
You wouldn’t drive a car without checking the brakes, right? Well, neglecting your float valve is a similar, albeit less dramatic, risk. The main reason you need to understand what is the float valve for cleaning is because a dirty one causes two major problems:
- Failure to Seal: This is the most common issue. If food debris, grease, or starchy residue gets stuck in the float valve’s housing or on the pin itself, it can’t rise properly to create a seal. Your cooker will just keep venting steam and will never reach pressure.
- Safety Concerns: In a less common but more serious scenario, a sticky float valve could potentially get stuck in the “up” position even after the pressure has been released. This could mislead you into thinking the pot is still pressurized when it’s not, or vice versa. A clean, freely moving valve is a reliable indicator of the pressure status inside your pot.
Expert Tip from Chef Isabella Rossi: “I always tell my students that the float valve is the ‘canary in the coal mine’ for their pressure cooker. If it’s acting up, it’s the first and easiest thing to check. A 30-second clean can save you 30 minutes of troubleshooting.”
Your Step-by-Step Guide: What is the Float Valve for Cleaning
Alright, time to roll up your sleeves. The good news is that cleaning this little guy is incredibly easy. I remember the first time I did it; I was nervous I’d break something, but the process is surprisingly simple. You’ll only need a minute or two.
Here is the essential breakdown of what is the float valve for cleaning and how to do it correctly.
- Safety First! Ensure your pressure cooker is unplugged and completely cool. Never attempt to perform maintenance on a hot or pressurized appliance.
- Remove and Inspect the Lid: Turn the lid upside down on your counter. You’ll see the underside of the float valve—a small silicone or rubber cap covering the end of the metal pin.
- Remove the Silicone Cap: Gently pull this small silicone cap off the pin. It’s small, so be careful not to lose it! I like to place it in a small bowl so it doesn’t roll away.
- Push Out the Float Valve: From the underside of the lid, push the metal pin. It should pop right out through the top of the lid.
- Time for a Bath: Now it’s time to clean the components.
- The Pin: Wash the metal pin with warm, soapy water. If there’s stubborn gunk on it, use a small brush (a bottle brush or an old toothbrush works wonders) to gently scrub it clean.
- The Silicone Cap: Wash the cap with soapy water as well. Make sure to clean inside the little cap.
- The Lid Housing: This is critical! Use a small brush or a pipe cleaner to scrub the inside of the hole in the lid where the float valve sits. This is where food residue loves to hide. Rinse it thoroughly with water.
- Dry Everything Completely: Before reassembling, make sure all three parts—the pin, the cap, and the lid itself—are totally dry. Water can sometimes cause the pin to stick temporarily.
- Reassemble: Pop the metal pin back into its hole from the top of the lid. Then, turn the lid over and firmly press the silicone cap back onto the end of the pin on the underside.
- The Jiggle Test: Once reassembled, give the pin a little poke from the top. It should move up and down freely with a slight jiggle. If it does, you’ve successfully cleaned your float valve!
Electric vs. Stovetop Pressure Cookers: Any Difference?
Whether you have a modern electric pressure cooker like an Instant Pot or a traditional stovetop model, the principle of the float valve is exactly the same. The design might look slightly different—some are round, some are oblong—but the function and cleaning process are identical: a pin that rises with pressure and is held in place by a removable cap on the underside of the lid.
Beyond the Float Valve: A Holistic Lid Cleaning Routine
While you have the lid handy, why not give its other components a quick check-up? A happy lid means a happy pressure cooker. Think of it as a team; the float valve can’t do its job if its teammates are slacking.
- The Sealing Ring: This is the large silicone ring on the underside of the lid. It should be removed and washed after every use. Check it for cracks, tears, or stretching. Most manufacturers recommend replacing it every 12-18 months.
- The Anti-Block Shield: This is a metal cage or shield that covers the steam release valve from the inside. It’s designed to prevent food from shooting up and clogging the valve. Pop it off and clean it thoroughly.
- The Steam Release Valve: On top of the lid, you have the main steam release handle. You can usually pull this straight up to remove it. Wash it and ensure the pathway through the lid is clear.
|
Our Picks for the Best Pressure Cooker in 2025
As an Amazon Associate, we earn from qualifying purchases.
|
||
| Num | Product | Action |
|---|---|---|
| 1 | Our Place Dream Cooker | 6-quart Multicooker | 4 Versatile Modes | Pressure Cook, Slow Cook, Sear & Saute, Keep Warm | Hands-Free Steam Release | Tailored Control Panel | Steam |

|
| 2 | HealSmart 12-in-1 Multi Electric Pressure Cooker, Non-Stick 6QT Stainless Steel Pressure Cooker for Yogurt Maker, Slow Cooker, Cake, Multigrain, Dishwasher Safe |
|
| 3 | Visit the CUCKOO Store |
|
| 4 | CHEF iQ Smart Pressure Cooker with WiFi and Built-in Scale - Easy-to-Use 10-in-1 Multicooker with 500+ Guided Recipes - Rice Cooker, Slow Cooker, Instant Meals for Foodies - 6 Quart - Family Size |
|
| 5 | Instant Pot Duo 7-in-1 Mini Electric Pressure Cooker, Slow Rice Cooker, Steamer, Sauté, Yogurt Maker, Warmer & Sterilizer, Includes Free App with over 1900 Recipes, Stainless Steel, 3 Quart |
|
| 6 | COSORI Pressure Cooker 6QT, Stainless Steel, 9-in-1 Multi Cooker, 12 Safety Features, Ceramic Inner Pot, Rice, Slow Cook, Sous Vide, Saute, 1100W |
|
| 7 | Instant Pot Duo 7-in-1 Electric Pressure Cooker, Slow Cooker, Rice, Steamer, Sauté, Yogurt Maker, Warmer & Sterilizer, Includes App With Over 800 Recipes, Stainless Steel, 6 Quart |
|
| 8 | Presto 01362 6-Quart Stainless Steel Pressure Cooker |
|
| 9 | Safety Stainless Steel Pressure Cooker, 7.4 Qt with Release Valve & Multiple Protective Devices, Cooking Pressure Canner for Steam, Canning, Stewing on All Stovetops |
|
| 10 | DUMOS 12-in-1 Electric Pressure Cooker 6 QT Stainless Steel Multi Cooker Electric for Pressure, Rice, Steamer, Yogurt Maker, Slow Cook,Meat Stew, Cake, Porridge, Multigrain, Sliver |
|
A full cleaning routine ensures every part of your pressure-building system is in top working order. If you need more details, check out our comprehensive guide on deep cleaning your pressure cooker lid.
Frequently Asked Questions
How often should I clean the float valve?
Ideally, you should give it a quick check and rinse after every use, especially if you’ve cooked something starchy or foamy like rice, beans, or pasta. A deep clean, as described above, should be done at least once a month or anytime you notice your cooker is slow to come to pressure.
What tools do I need for cleaning the float valve?
You don’t need anything fancy! Just warm water, a bit of dish soap, and a small brush. An old toothbrush, a pipe cleaner, or a small bottle brush is perfect for getting into the nooks and crannies.
Can I put the float valve parts in the dishwasher?
While many pressure cooker lids and components are listed as “dishwasher safe,” I personally recommend hand-washing these tiny, critical parts. They are so small that they can easily get lost or not cleaned effectively in a dishwasher. A quick hand wash is faster and more thorough.
My float valve is loose and jiggles. Is that normal?
Yes, absolutely! A float valve that jiggles a bit when it’s in the “down” position is a healthy, clean float valve. This looseness is what allows it to move freely and rise easily with the first bit of steam. If it feels stiff, it’s time for a clean.
What happens if I ignore cleaning the float valve?
At best, you’ll have a frustrating experience where your pressure cooker fails to seal, delaying your dinner. At worst, a heavily clogged valve could pose a safety risk by not functioning as a reliable pressure indicator. Understanding what is the float valve for cleaning is a simple step for great results and peace of mind.
The Tiny Valve That Makes a Big Difference
It’s amazing how such a small, simple component can be so crucial to the entire pressure cooking process. It’s the gatekeeper of pressure, the silent guardian of safety, and, more often than not, the simple solution to your most common pressure cooking problems.
By taking a couple of minutes to regularly clean your float valve, you’re not just performing maintenance; you’re ensuring your appliance works safely, efficiently, and reliably every single time. Now that you’re an expert on what is the float valve for cleaning, you can cook with confidence, knowing your machine is in peak condition to help you create delicious meals in a fraction of the time. Go ahead, tackle that new recipe you’ve been eyeing! Your pressure cooker is ready for it.