Let’s be honest, we’ve all been there. You’re trying to whip up a quick dinner, and the rice comes out… well, less than perfect. It’s either a sticky, gummy mess or somehow crunchy and undercooked at the same time. If you’re tired of the rice roulette, I’ve got a game-changing secret for you. It’s time to learn How To Use A Pressure Cooker As A Rice Cooker. Trust me, once you master this simple technique, you might just push that single-purpose rice cooker to the back of the cabinet for good.
For years, I relied on my trusty rice cooker, thinking it was the only way to achieve that perfect, fluffy texture. My pressure cooker was reserved for big, tough jobs like pot roasts and bean stews. But one busy weeknight, my rice cooker gave up the ghost. In a moment of desperation, I turned to my electric pressure cooker, and what happened next was nothing short of a culinary revelation. The rice was cooked in a fraction of the time, and each grain was perfectly separate and tender. It was a lightbulb moment, and today, I’m going to share everything I’ve learned so you can get the same amazing results.
Why Use a Pressure Cooker for Rice Anyway?
You might be wondering, “What’s the big deal? I already have a rice cooker.” That’s a fair question! But a pressure cooker brings some unique advantages to the table that can seriously upgrade your rice game.
A pressure cooker works by trapping steam, which builds up pressure inside the sealed pot. This high-pressure environment raises the boiling point of water, allowing food to cook much faster. For rice, this means you’re not just boiling it; you’re essentially forcing steam and moisture into each grain at an accelerated rate. This process results in incredibly consistent, fluffy rice in a fraction of the usual time.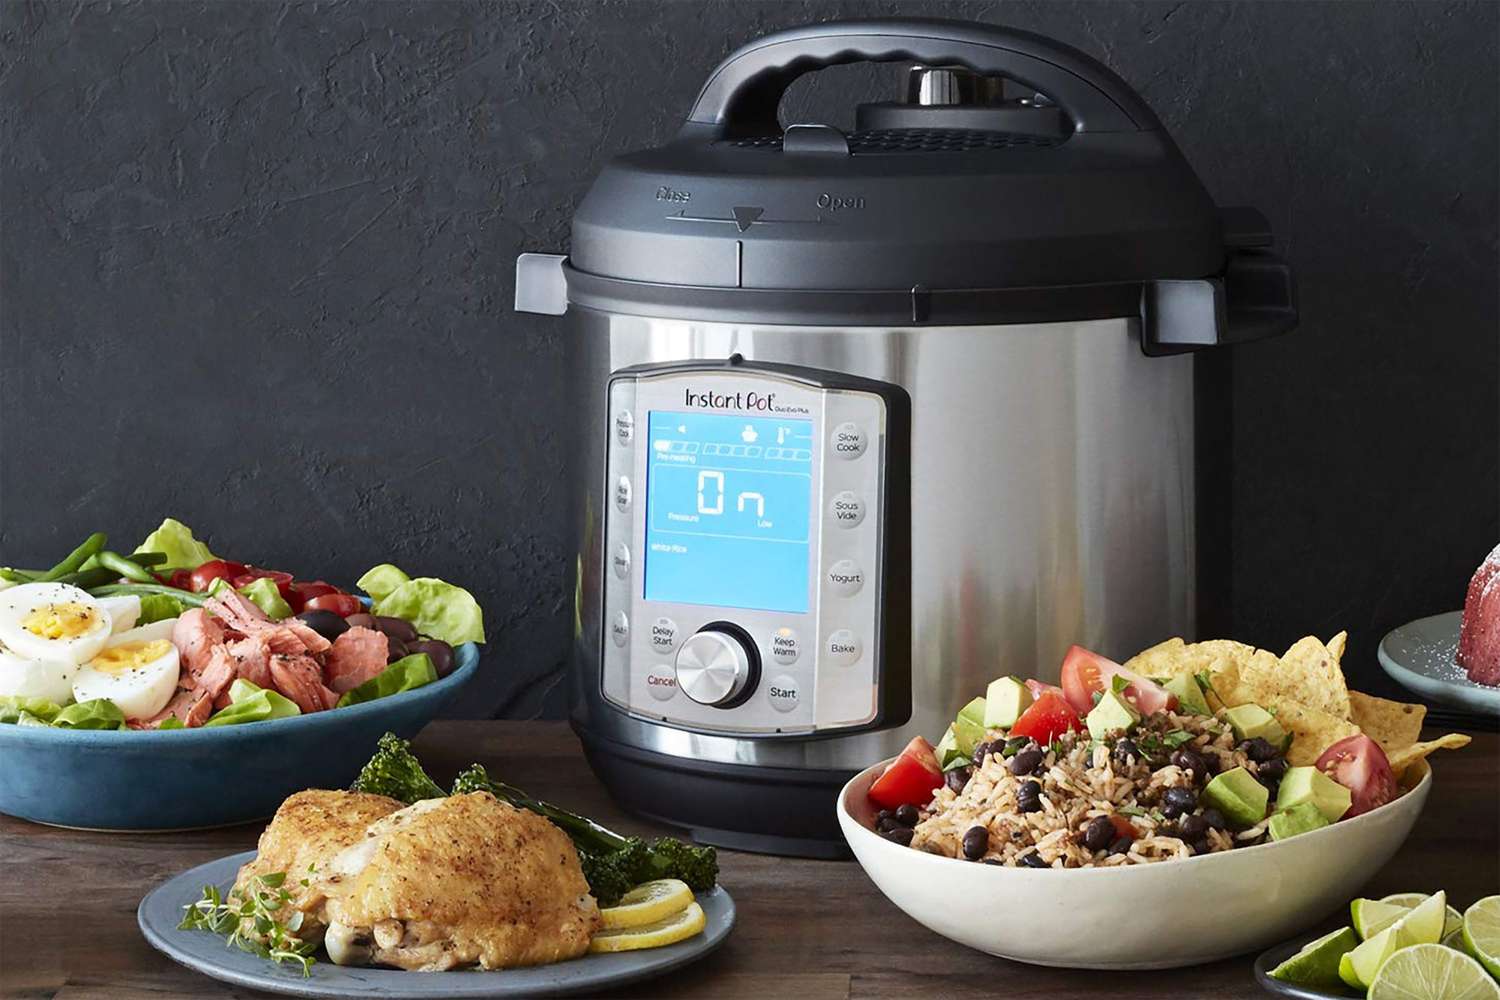
Here’s the breakdown of the benefits:
- Speed: This is the most obvious win. White rice can be perfectly cooked in as little as 3-4 minutes under pressure (plus the time to build and release pressure). That’s a lifesaver on a busy night.
- Texture: The high-pressure steam cooks each grain evenly from the inside out. This prevents the mushy bottom and dry top that can sometimes happen on the stovetop. The result is exceptionally fluffy, distinct grains.
- Versatility: Why have two appliances when one can do the job of both? Using your pressure cooker for rice frees up valuable counter space and simplifies your kitchen arsenal. It’s a key step in becoming a more efficient cook.
- Set-It-and-Forget-It: Much like an electric rice cooker, an electric pressure cooker is fully automated. You lock the lid, set the timer, and walk away. No need to watch the pot or worry about it boiling over.
The Golden Rule: Understanding the Rice-to-Water Ratio
This is the most critical part of learning how to use a pressure cooker as a rice cooker. If you get this wrong, you’ll end up with either soup or a brick. The key difference is that a pressure cooker is a sealed environment, which means very little water evaporates during cooking. Therefore, you need significantly less water than you would for stovetop methods.
“The magic of pressure cooking rice lies in precision. Unlike boiling on a stovetop where you compensate for evaporation, a pressure cooker’s sealed system demands an exact water ratio. Get it right, and you unlock a texture that is simply unattainable otherwise.” – Chef Antoine Dubois, Culinary Institute of America
The universal starting point for most types of rice is a 1:1 ratio. That means for every one cup of rice, you use exactly one cup of water or broth.
For White Rice (Jasmine, Basmati, Long-Grain)
For standard white rice varieties, the 1:1 ratio is your holy grail. It’s that simple.
- 1 cup of rice
- 1 cup of water
For Brown Rice and Other Whole Grains
Brown rice has a tough outer bran layer that needs more water and time to soften. For brown rice, a slightly adjusted ratio works best.
- 1 cup of brown rice
- 1 ¼ cups of water
A quick personal tip: I always measure my rice and water with the same measuring cup to ensure absolute consistency. It seems small, but it makes all the difference.
How to Use a Pressure Cooker as a Rice Cooker: A Step-by-Step Guide
Ready to make the best rice of your life? Let’s walk through it. This guide is primarily for an electric pressure cooker (like an Instant Pot), but the principles are the same for a stovetop pressure cooker.
- Rinse Your Rice. Do not skip this step! Rinsing rice under cold water until the water runs mostly clear removes excess surface starch. This is the secret to preventing clumpy, sticky rice and achieving those beautifully separate grains. I just put my rice in a fine-mesh sieve and run it under the tap for about a minute.
- Add Rice and Liquid to the Pot. Place the rinsed and drained rice into the inner pot of your pressure cooker. Add your liquid (water, chicken broth, vegetable broth) according to the 1:1 ratio.
- Season (Optional but Recommended). This is where you can get creative. Add a good pinch of salt (about ½ teaspoon per cup of rice) and maybe a tablespoon of butter or olive oil for extra flavor and richness.
- Lock the Lid and Set the Time. Secure the lid on your pressure cooker. Make sure the safety valve is turned to the “Sealing” position. For white rice, set the cooker to “High Pressure” for 3 to 5 minutes. For brown rice, you’ll want to set it for 20 to 22 minutes on “High Pressure”. Many modern electric models have a “Rice” button, but I find that using the manual/pressure cook setting gives me more control and better results.
- The Release: Go Natural. Once the cooking time is up, the cooker will beep. Now comes the second most important step: the pressure release. For rice, you want to let the pressure release naturally for 10 minutes. This is called a Natural Release. This waiting period allows the rice to finish steaming and absorb any remaining moisture, which is crucial for a fluffy texture. Don’t be tempted to use the Quick Release right away, as it can make the rice wet and ruin the texture.
- Release Remaining Pressure and Fluff. After the 10-minute natural release, carefully switch the valve to the “Venting” position to release any remaining steam. Once the float valve drops, it’s safe to open the lid. Use a fork or a rice paddle to gently fluff the rice, separating the grains. Serve immediately and prepare for compliments!
|
Our Picks for the Best Pressure Cooker in 2025
As an Amazon Associate, we earn from qualifying purchases.
|
||
| Num | Product | Action |
|---|---|---|
| 1 | CHEF iQ Smart Pressure Cooker with WiFi and Built-in Scale - Easy-to-Use 10-in-1 Multicooker with 500+ Guided Recipes - Rice Cooker, Slow Cooker, Instant Meals for Foodies - 6 Quart - Family Size |

|
| 2 | Instant Pot Duo 7-in-1 Electric Pressure Cooker, Slow Cooker, Rice, Steamer, Sauté, Yogurt Maker, Warmer & Sterilizer, Includes App With Over 800 Recipes, Stainless Steel, 6 Quart |
|
| 3 | DUMOS 12-in-1 Electric Pressure Cooker 6 QT Stainless Steel Multi Cooker Electric for Pressure, Rice, Steamer, Yogurt Maker, Slow Cook,Meat Stew, Cake, Porridge, Multigrain, Sliver |
|
| 4 | HealSmart 12-in-1 Multi Electric Pressure Cooker, Non-Stick 6QT Stainless Steel Pressure Cooker for Yogurt Maker, Slow Cooker, Cake, Multigrain, Dishwasher Safe |
|
| 5 | Our Place Dream Cooker | 6-quart Multicooker | 4 Versatile Modes | Pressure Cook, Slow Cook, Sear & Saute, Keep Warm | Hands-Free Steam Release | Tailored Control Panel | Steam |
|
| 6 | Instant Pot Duo 7-in-1 Mini Electric Pressure Cooker, Slow Rice Cooker, Steamer, Sauté, Yogurt Maker, Warmer & Sterilizer, Includes Free App with over 1900 Recipes, Stainless Steel, 3 Quart |
|
| 7 | Presto 01362 6-Quart Stainless Steel Pressure Cooker |
|
| 8 | Visit the CUCKOO Store |
|
| 9 | COSORI Pressure Cooker 6QT, Stainless Steel, 9-in-1 Multi Cooker, 12 Safety Features, Ceramic Inner Pot, Rice, Slow Cook, Sous Vide, Saute, 1100W |
|
| 10 | Safety Stainless Steel Pressure Cooker, 7.4 Qt with Release Valve & Multiple Protective Devices, Cooking Pressure Canner for Steam, Canning, Stewing on All Stovetops |
|
Common Mistakes to Avoid for Perfect Pressure Cooker Rice
My first attempt at pressure cooker rice was a bit of a disaster—a sticky, overcooked mess. I’ve made the mistakes so you don’t have to! Here are the most common pitfalls to avoid.
- Using Too Much Water: This is mistake number one. Remember, there’s no evaporation. Stick to the 1:1 ratio for white rice. Too much water will give you mushy, waterlogged grains.
- Skipping the Rinse: I know it feels like an unnecessary step, but that excess starch is the primary cause of gummy rice. Take the extra minute to rinse it properly.
- Using Quick Release Immediately: Patience is a virtue, especially here. A quick release will cause starchy water to sputter out of the valve and can result in undercooked, wet rice. Let it rest for that 10-minute Natural Release.
- Not Adjusting for Different Grains: You can’t cook brown rice and white rice with the same settings. Always adjust your water ratio and cooking time based on the specific grain you’re using. You can find more detailed timings in [our complete pressure cooker cooking times chart].
Frequently Asked Questions (FAQ)
Q1: Can I double the recipe to make more rice?
Absolutely! You can easily double or triple the recipe. The key is to keep the rice-to-water ratio the same (e.g., 2 cups rice to 2 cups water). The cooking time under pressure remains the same, regardless of the quantity. However, do not fill your pressure cooker more than halfway full with rice and water, as the grains expand during cooking.
Q2: What is the best pressure release method for rice?
The best method is a 10-minute Natural Release followed by a Quick Release of any remaining pressure. This 10-minute rest period is essential for allowing the rice to steam perfectly and absorb all the moisture, resulting in a fluffy, non-sticky texture.
Q3: My rice came out mushy. What did I do wrong?
Mushy rice is almost always caused by too much water. Double-check that you are using a precise 1:1 rice-to-water ratio. The other culprit could be not rinsing the rice enough, leaving too much surface starch on the grains.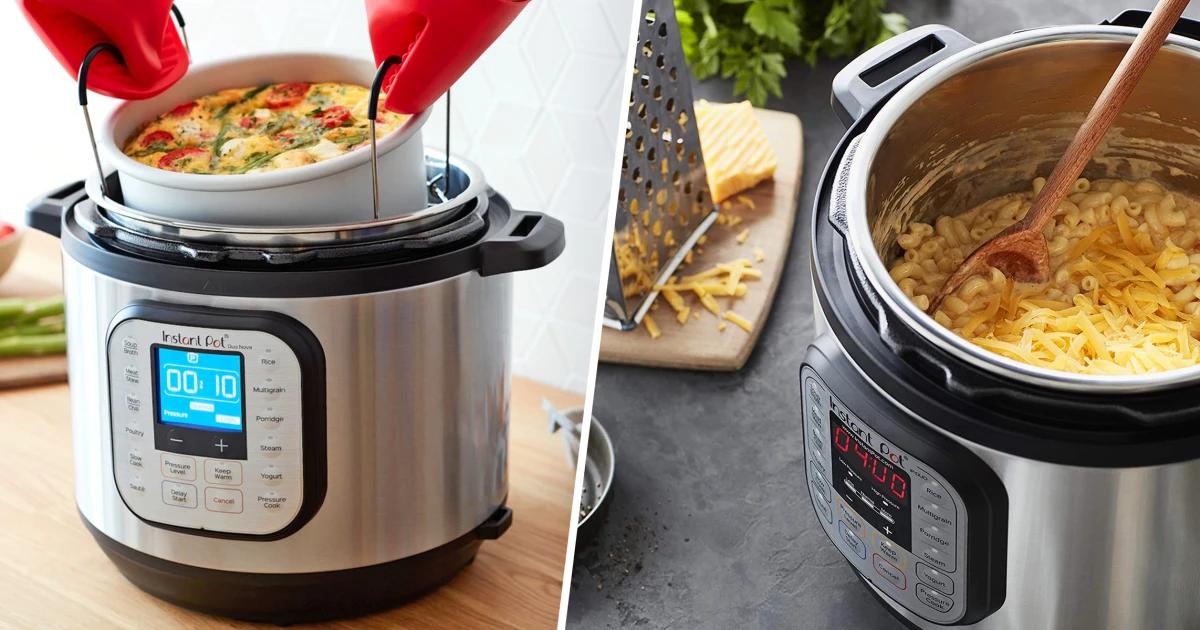
Q4: Can I cook other grains like quinoa or farro in the pressure cooker?
Yes! A pressure cooker is fantastic for all sorts of grains. The water ratios and cooking times will vary, but the general principle is the same. Quinoa, for example, typically uses a 1:1.25 ratio (1 cup quinoa to 1 ¼ cups water) and cooks for only 1 minute at high pressure. Check out [our guide to cooking whole grains in a pressure cooker] for more info.
Q5: My pressure cooker doesn’t have a “High Pressure” setting, only PSI. What should I use?
High pressure on most electric pressure cookers is typically between 10-12 PSI (pounds per square inch). If your cooker allows you to set the PSI, aim for this range for cooking rice.
Your New Secret Weapon in the Kitchen
Mastering how to use a pressure cooker as a rice cooker is more than just learning a new technique; it’s about unlocking the full potential of an appliance you already own. It’s about saving time, saving counter space, and consistently producing perfectly cooked, fluffy rice that will elevate any meal. The process is simple, fast, and incredibly reliable.
So go ahead, dust off that pressure cooker, and give it a try tonight. Say goodbye to gummy, undercooked rice forever and hello to a new level of kitchen confidence. You’ll wonder how you ever lived without it.