We’ve all been there. You’re eagerly awaiting a delicious, quickly-cooked meal, the glorious aroma filling your kitchen. Suddenly, your trusty Instant Pot beeps, and your heart sinks as you read those dreaded words on the screen: “OvHt,” “BURN,” or “Food Burn.” Before you panic and order takeout, take a deep breath. Learning How To Fix A Burn Notice On An Instant Pot is a rite of passage for every pressure cooking enthusiast. It’s not a sign of failure; it’s your pot’s smart way of telling you something needs a little tweak. This guide will turn you from a worried cook into a burn-notice-busting pro.
What Does the “Burn” Notice Actually Mean?
First things first, what is this message really trying to tell you? The “Burn” notice is a safety feature, not a death sentence for your dinner. It simply means the thermal sensors at the bottom of the Instant Pot’s base have detected that the inner pot is getting way too hot. Think of it as a smoke detector for your food. It automatically stops the heating process to prevent food from scorching badly and to protect the appliance itself. It’s a sign that your pot is working perfectly to keep you safe.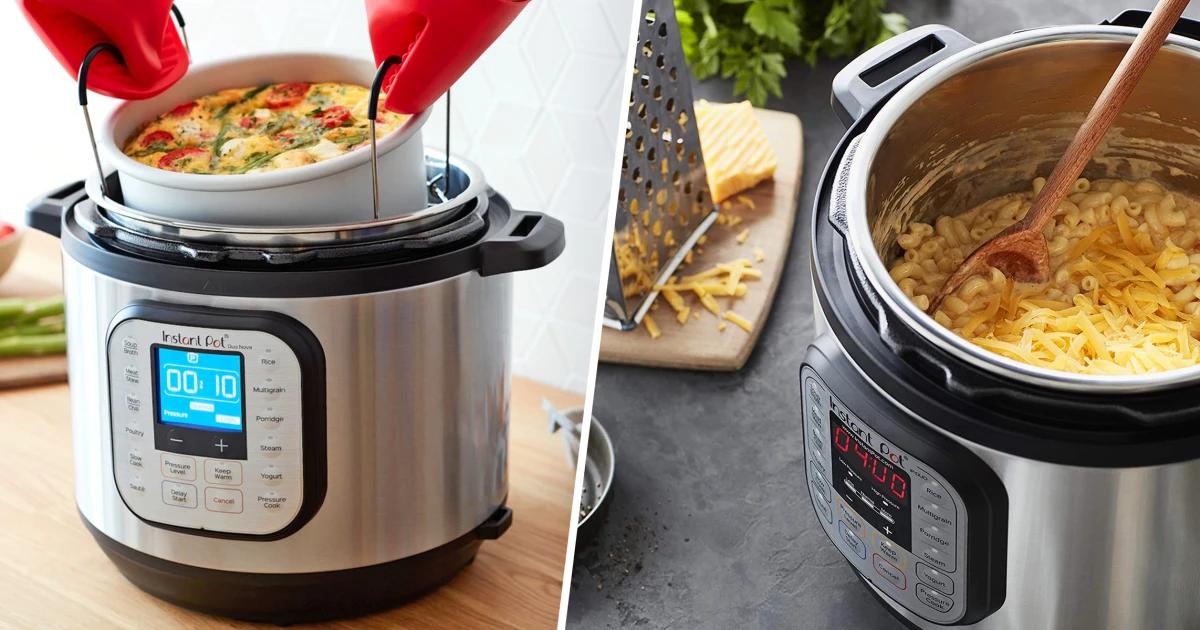
The heat is becoming too concentrated in one spot, usually because something is stuck to the bottom of the inner pot and there isn’t enough thin liquid circulating to create the necessary steam for pressure cooking.
The Immediate Fix: Your Step-by-Step Rescue Plan
The moment you see that burn warning, don’t ignore it. Act quickly with this simple rescue plan.
- Hit ‘Cancel’ Immediately: The first step is to stop the cooking process. Press the “Cancel/Keep Warm” button to turn off the heating element.
- Release the Pressure Safely: You need to get that lid off. Carefully perform a quick release by turning the steam release valve to the “Venting” position. Always use a long-handled spoon or wear an oven mitt to protect your hand from the hot steam. Never put your face or hands directly over the valve.
- Open the Lid: Once the float valve has dropped completely, it’s safe to open the lid. Open it away from your face to avoid any residual steam.
- Assess the Situation: Look inside the pot. More often than not, you’ll find that your meal isn’t a charred mess. Usually, there’s just a small layer of food stuck to the very bottom. Give the contents a good stir. Does it smell burnt? If it’s only slightly stuck, you’re in great shape.
- Scrape and Deglaze: This is the most crucial step. Remove the inner pot from the base. Using a wooden spoon or a non-scratch spatula, scrape the bottom of the pot firmly to dislodge any stuck-on bits of food. If they are stubborn, add a small splash of water, broth, or wine (about 1/4 cup) and scrape again. This process is called deglazing, and it’s your secret weapon. Make sure the bottom of the pot is completely smooth.
- Decide Your Next Move:
- If the food seems fine, simply put the inner pot back in the cooker, secure the lid, and restart the pressure cooking cycle. You may need to adjust the remaining cook time.
- If some food is truly scorched, try to scoop out the burnt parts before continuing. A little scorching is okay, but a lot will make the whole dish taste bitter.
- If you’ve lost a significant amount of liquid as steam, add a little more thin liquid (water or broth) to ensure there’s enough to build pressure again.
Why Did My Instant Pot Show a Burn Notice? The Top Culprits
Fixing the problem is one thing, but understanding why it happened is the key to preventing it. Here are the most common reasons you’ll encounter that dreaded “BURN” message.
Not Enough Thin Liquid
This is the number one offender. An electric pressure cooker works by boiling thin liquid to create steam, which in turn builds pressure. If you don’t have enough water, broth, or other watery liquid, the pot can’t generate steam. Instead, the heating element just keeps heating the food at the bottom, leading to scorching.
As a rule of thumb, most 6-quart Instant Pot models require at least 1 cup of thin liquid to function properly. For an 8-quart model, aim for at least 1.5 to 2 cups.
Thick Sauces, Starches, and Dairy
Thick ingredients are the natural enemy of a pressure cooker’s bottom. Things like tomato paste, canned cream soups, jarred pasta sauce, and thick gravies don’t have enough water content. They sink to the bottom and form a thick layer that easily scorches before the thin liquid has a chance to boil and circulate. The same goes for starchy foods like pasta and rice if they are dumped in first.
Forgetting to Deglaze After Sautéing
The sauté function is fantastic, but it can set you up for a burn notice if you’re not careful. When you brown meat or sauté onions, little flavorful bits of food (called “fond”) get stuck to the bottom of the pot. While delicious, these bits will block the heat and scorch instantly once you switch to pressure cooking. Deglazing after sautéing is non-negotiable!
Improper Layering
How you add ingredients to your Instant Pot matters—a lot. If you dump in starchy or sugary ingredients first, they’ll sit right on the heating element. The trick is to layer intelligently. Always start with your thin liquid, then add your meats and vegetables, and finally, place thick sauces, tomatoes, or starches on the very top. And whatever you do, don’t stir them in before cooking! Let them sit on top.
|
Our Picks for the Best Pressure Cooker in 2025
As an Amazon Associate, we earn from qualifying purchases.
|
||
| Num | Product | Action |
|---|---|---|
| 1 | CHEF iQ Smart Pressure Cooker with WiFi and Built-in Scale - Easy-to-Use 10-in-1 Multicooker with 500+ Guided Recipes - Rice Cooker, Slow Cooker, Instant Meals for Foodies - 6 Quart - Family Size |

|
| 2 | Safety Stainless Steel Pressure Cooker, 7.4 Qt with Release Valve & Multiple Protective Devices, Cooking Pressure Canner for Steam, Canning, Stewing on All Stovetops |
|
| 3 | DUMOS 12-in-1 Electric Pressure Cooker 6 QT Stainless Steel Multi Cooker Electric for Pressure, Rice, Steamer, Yogurt Maker, Slow Cook,Meat Stew, Cake, Porridge, Multigrain, Sliver |
|
| 4 | Instant Pot Duo 7-in-1 Mini Electric Pressure Cooker, Slow Rice Cooker, Steamer, Sauté, Yogurt Maker, Warmer & Sterilizer, Includes Free App with over 1900 Recipes, Stainless Steel, 3 Quart |
|
| 5 | COSORI Pressure Cooker 6QT, Stainless Steel, 9-in-1 Multi Cooker, 12 Safety Features, Ceramic Inner Pot, Rice, Slow Cook, Sous Vide, Saute, 1100W |
|
| 6 | Our Place Dream Cooker | 6-quart Multicooker | 4 Versatile Modes | Pressure Cook, Slow Cook, Sear & Saute, Keep Warm | Hands-Free Steam Release | Tailored Control Panel | Steam |
|
| 7 | HealSmart 12-in-1 Multi Electric Pressure Cooker, Non-Stick 6QT Stainless Steel Pressure Cooker for Yogurt Maker, Slow Cooker, Cake, Multigrain, Dishwasher Safe |
|
| 8 | Instant Pot Duo 7-in-1 Electric Pressure Cooker, Slow Cooker, Rice, Steamer, Sauté, Yogurt Maker, Warmer & Sterilizer, Includes App With Over 800 Recipes, Stainless Steel, 6 Quart |
|
| 9 | Visit the CUCKOO Store |
|
| 10 | Presto 01362 6-Quart Stainless Steel Pressure Cooker |
|
Pro Tips to Prevent the Burn Notice Forever
Now that you know the causes, let’s talk about making the burn notice a thing of the past. Adopting these habits will make your pressure cooking experience smooth and stress-free.
Master the Art of Layering
This is the real game-changer. Let’s say you’re making chili:
- Sauté First: Brown your ground meat and sauté your onions and garlic.
- Deglaze: Add a splash of broth and scrape the bottom of the pot clean.
- Liquids In: Pour in the rest of your broth.
- Beans and Meat: Add your beans and the cooked meat back into the pot.
- Toppings Last: Pour your crushed tomatoes or tomato sauce on top of everything. Do not stir! The tomatoes can sit happily on top while the thin liquid below does the work of creating steam.
Use the “Pot-in-Pot” (PIP) Method
For especially tricky foods like lasagna, cheesecakes, or thick sauces, the Pot-in-Pot (PIP) method is your best friend. This involves placing your food in a separate, oven-safe container (like a stainless steel or glass bowl) and placing that container on a trivet inside the inner pot with water underneath. The steam from the water cooks the food in the separate container gently and evenly, making a burn notice impossible.
Always Deglaze Like a Chef
After you use the sauté function, turn the pot off. Pour in a bit of your recipe’s liquid (wine, broth, water) and use a flat-edged wooden spoon to scrape every last bit of food off the bottom of the pot. This not only prevents burning but also adds a massive flavor boost to your dish.
“Never underestimate the power of a good deglaze,” advises kitchen appliance expert James Peterson. “Those browned bits are flavor gold. Scraping them up is the difference between a good meal and a great one, and it’s the single best trick to avoid a burn notice.”
Check Your Sealing Ring
A worn-out or improperly seated sealing ring can allow steam to escape. If too much steam leaks out, the liquid level will drop, and the pot may overheat. Before each use, make sure your silicone sealing ring is clean and seated correctly in the lid.
Frequently Asked Questions
Can I just ignore the burn notice on my Instant Pot?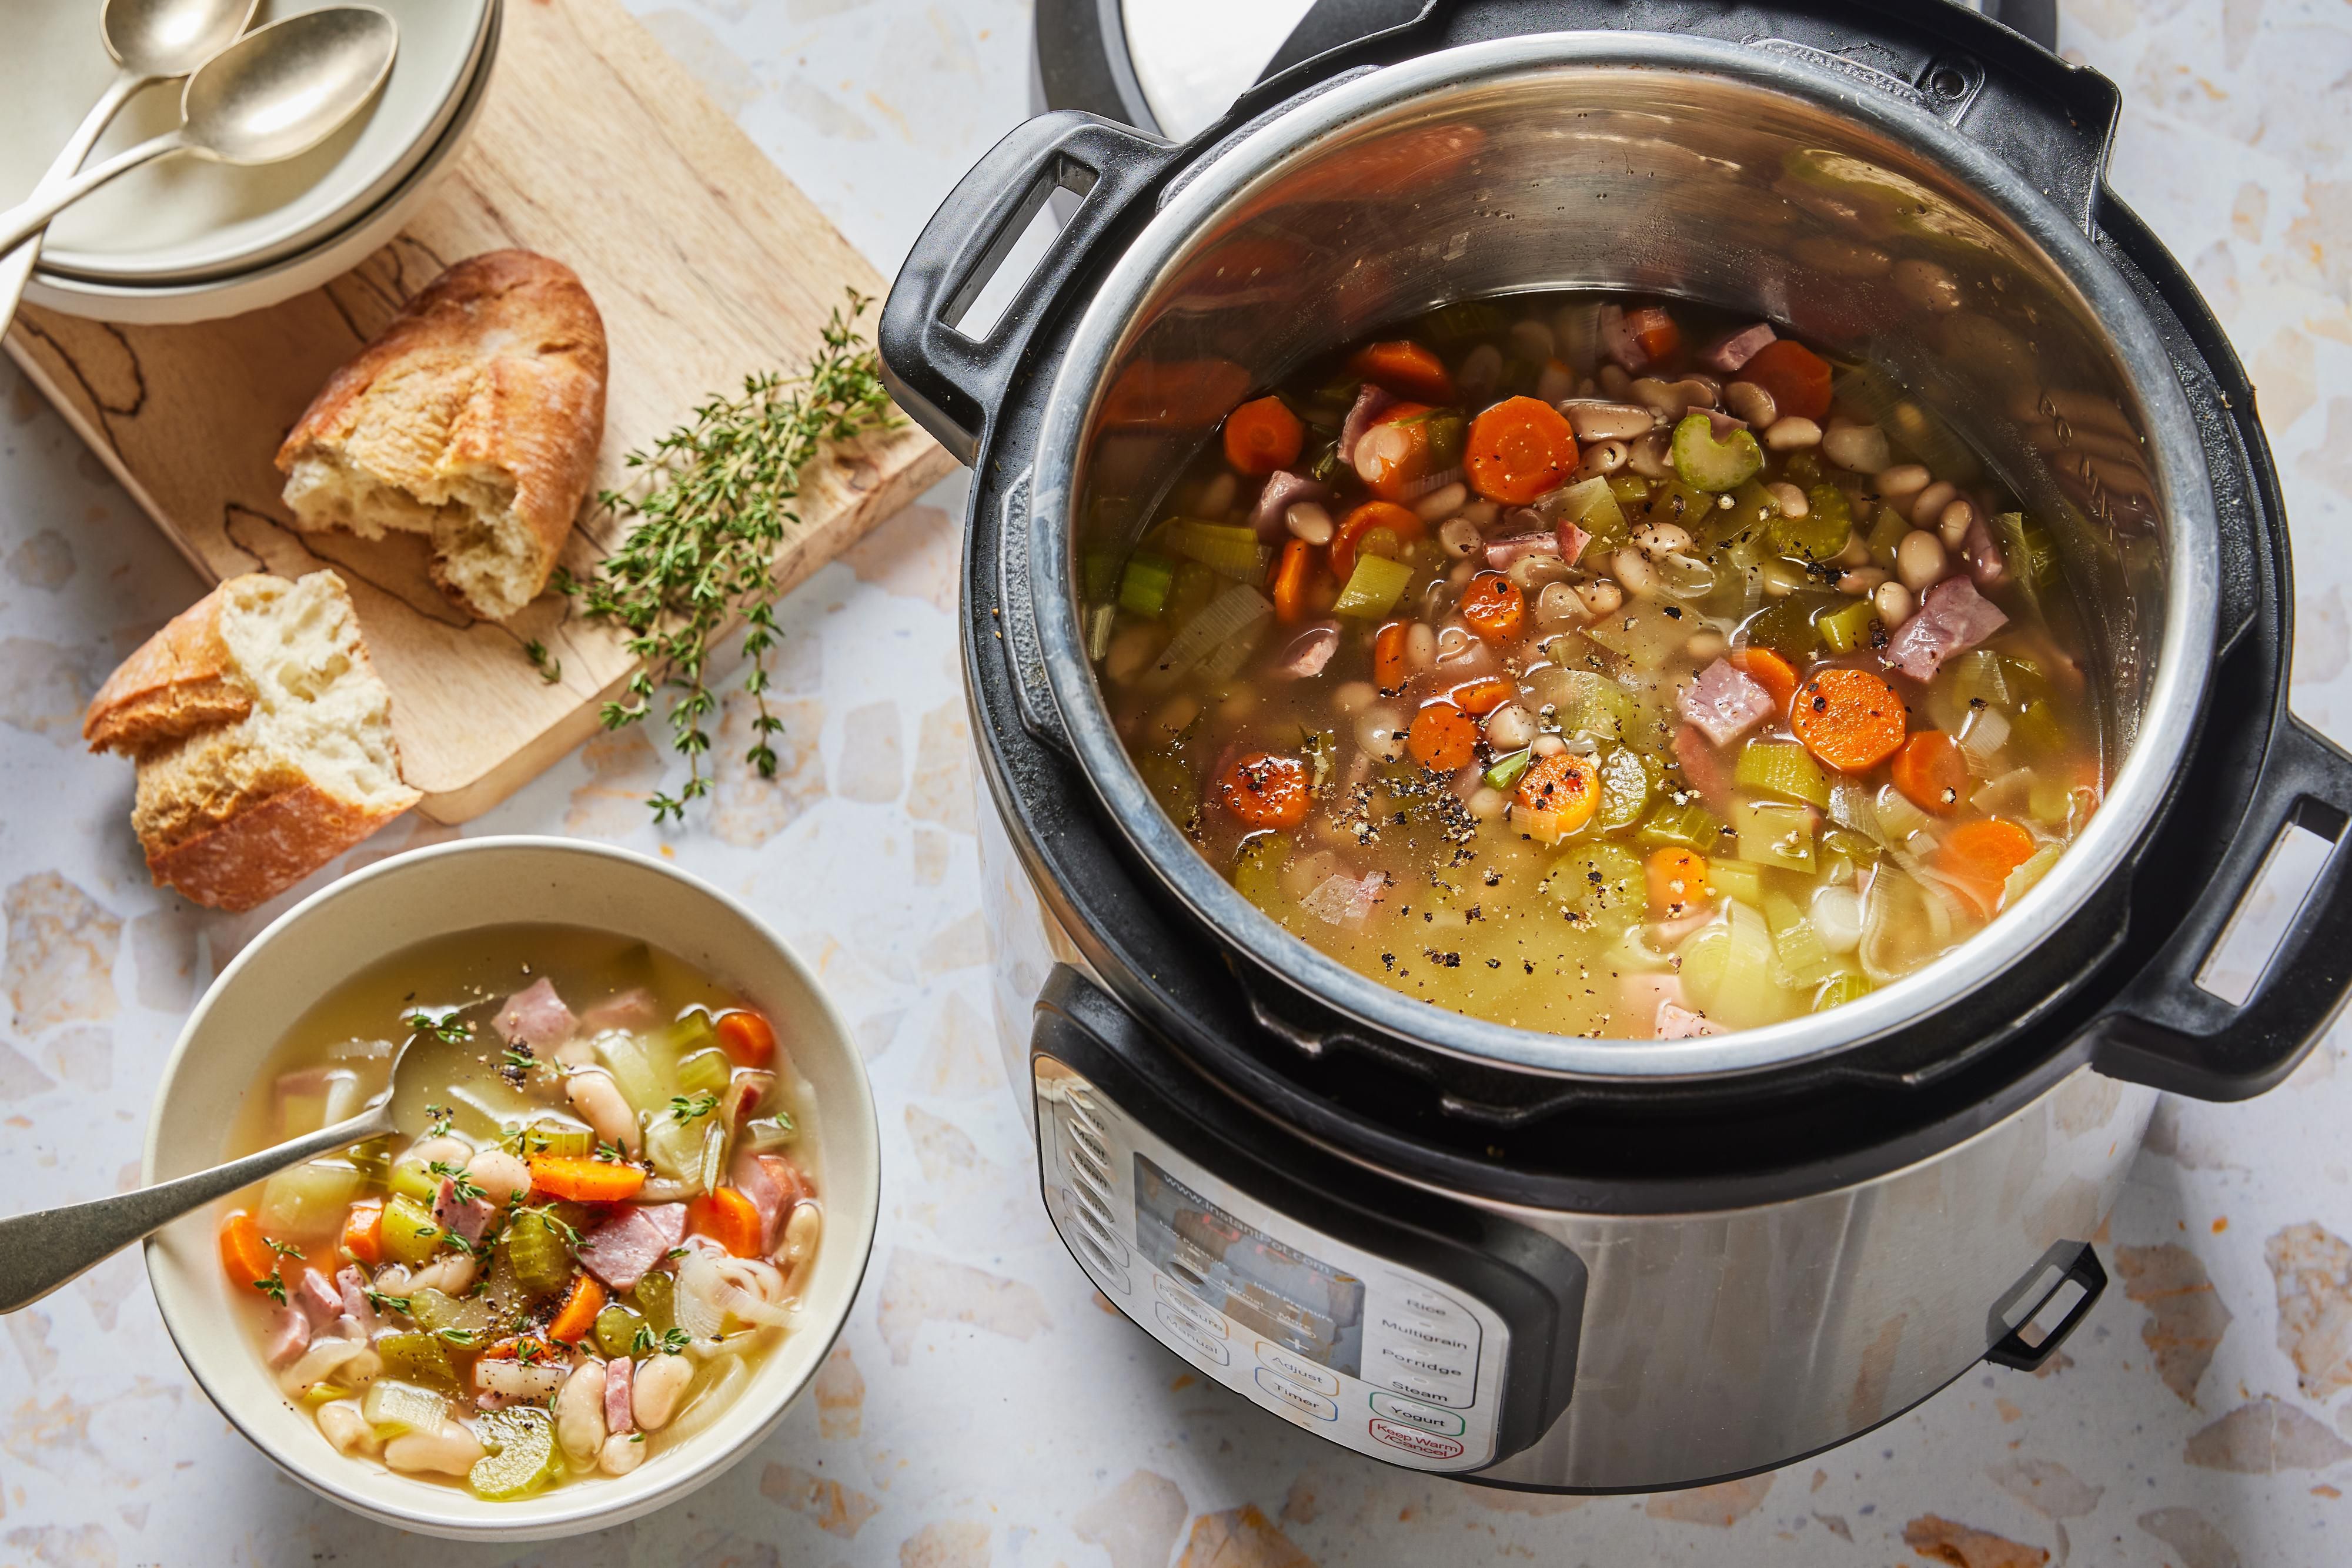
No, you should never ignore it. The burn notice is a safety feature that shuts off the heat. If you ignore it, the pot will not continue cooking or reach pressure. You must follow the steps to cancel, depressurize, and fix the issue at the bottom of the pot.
Will my food be ruined if I get a burn notice?
In most cases, no! If you act quickly, the “burn” is usually just a bit of scorching on the very bottom layer of food. The rest of your meal is often perfectly fine. Simply scrape the bottom, and you can usually salvage dinner without any noticeable burnt taste.
How do I clean a scorched Instant Pot inner pot?
If you do have some tough, burnt-on food, cleaning is easy. Sprinkle a generous layer of baking soda on the bottom of the pot, add a cup of water, and let it sit for a few hours or overnight. Alternatively, pour in a cup of water and a splash of white vinegar, then use the sauté function to simmer it for a few minutes while scraping with a wooden spoon. The burnt bits should lift right off.
Do I need to add more liquid after fixing a burn notice?
It depends. When you perform a quick release, you lose some liquid as steam. If your recipe was already borderline on liquid, it’s a good idea to add another 1/2 cup of water or broth before restarting the cooking process to be safe.
Why do I get a burn notice when cooking pasta or rice?
Starchy foods are a common cause. The starches can settle at the bottom and create a thick, glue-like layer that burns easily. To prevent this, always add pasta or rice on top of other ingredients and ensure they are submerged in liquid, but avoid stirring them down to the very bottom of the pot before cooking.
Your Pressure Cooking Journey Continues
That “BURN” message on your Instant Pot can be intimidating, but it’s a fantastic teacher. It forces you to understand the science behind pressure cooking: the critical role of thin liquids, the behavior of different ingredients under heat, and the importance of proper technique. Seeing it once and learning how to fix a burn notice on an Instant Pot is a valuable lesson that will make you a more confident and capable cook. So don’t let it scare you. Embrace it as part of the learning curve, and get back to creating amazing meals in record time.