Ever find yourself staring at a pack of chicken, then at the clock, and letting out a deep sigh? We’ve all been there. You want a delicious, home-cooked meal, but you just don’t have hours to spare. This is where the magic of a pressure cooker comes in. But the big question that often stops people in their tracks is How Long To Cook Chicken In A Pressure Cooker to get it just right—not tough and dry, but juicy and fall-off-the-bone tender. Don’t worry, I’m here to demystify the whole process. Think of me as your personal guide to pressure cooking perfection. By the end of this, you’ll be cooking chicken with the confidence of a seasoned pro.
From Humble Beginnings to Modern Marvels
Before we dive into cook times, let’s take a quick trip back in time. The pressure cooker isn’t some newfangled gadget; it was invented way back in the 17th century! Of course, those early models were a far cry from the sleek, safe machines we have today. I remember hearing stories from my grandmother about her old stovetop pressure cooker—a hissing, rattling contraption that commanded a healthy dose of respect (and a little bit of fear).
Today, things are wonderfully different. We have two main types of pressure cookers dominating modern kitchens, and understanding them is the first step.
The Two Faces of Pressure Cooking: Stovetop vs. Electric
Stovetop Pressure Cookers
These are the classic, no-frills workhorses. You place them on your stove, and they use the heat from the burner to build pressure. They generally reach a higher pressure (around 15 PSI) than their electric counterparts, which means they can cook things even faster. However, they require a bit more hands-on attention—you need to monitor the heat to maintain the correct pressure.
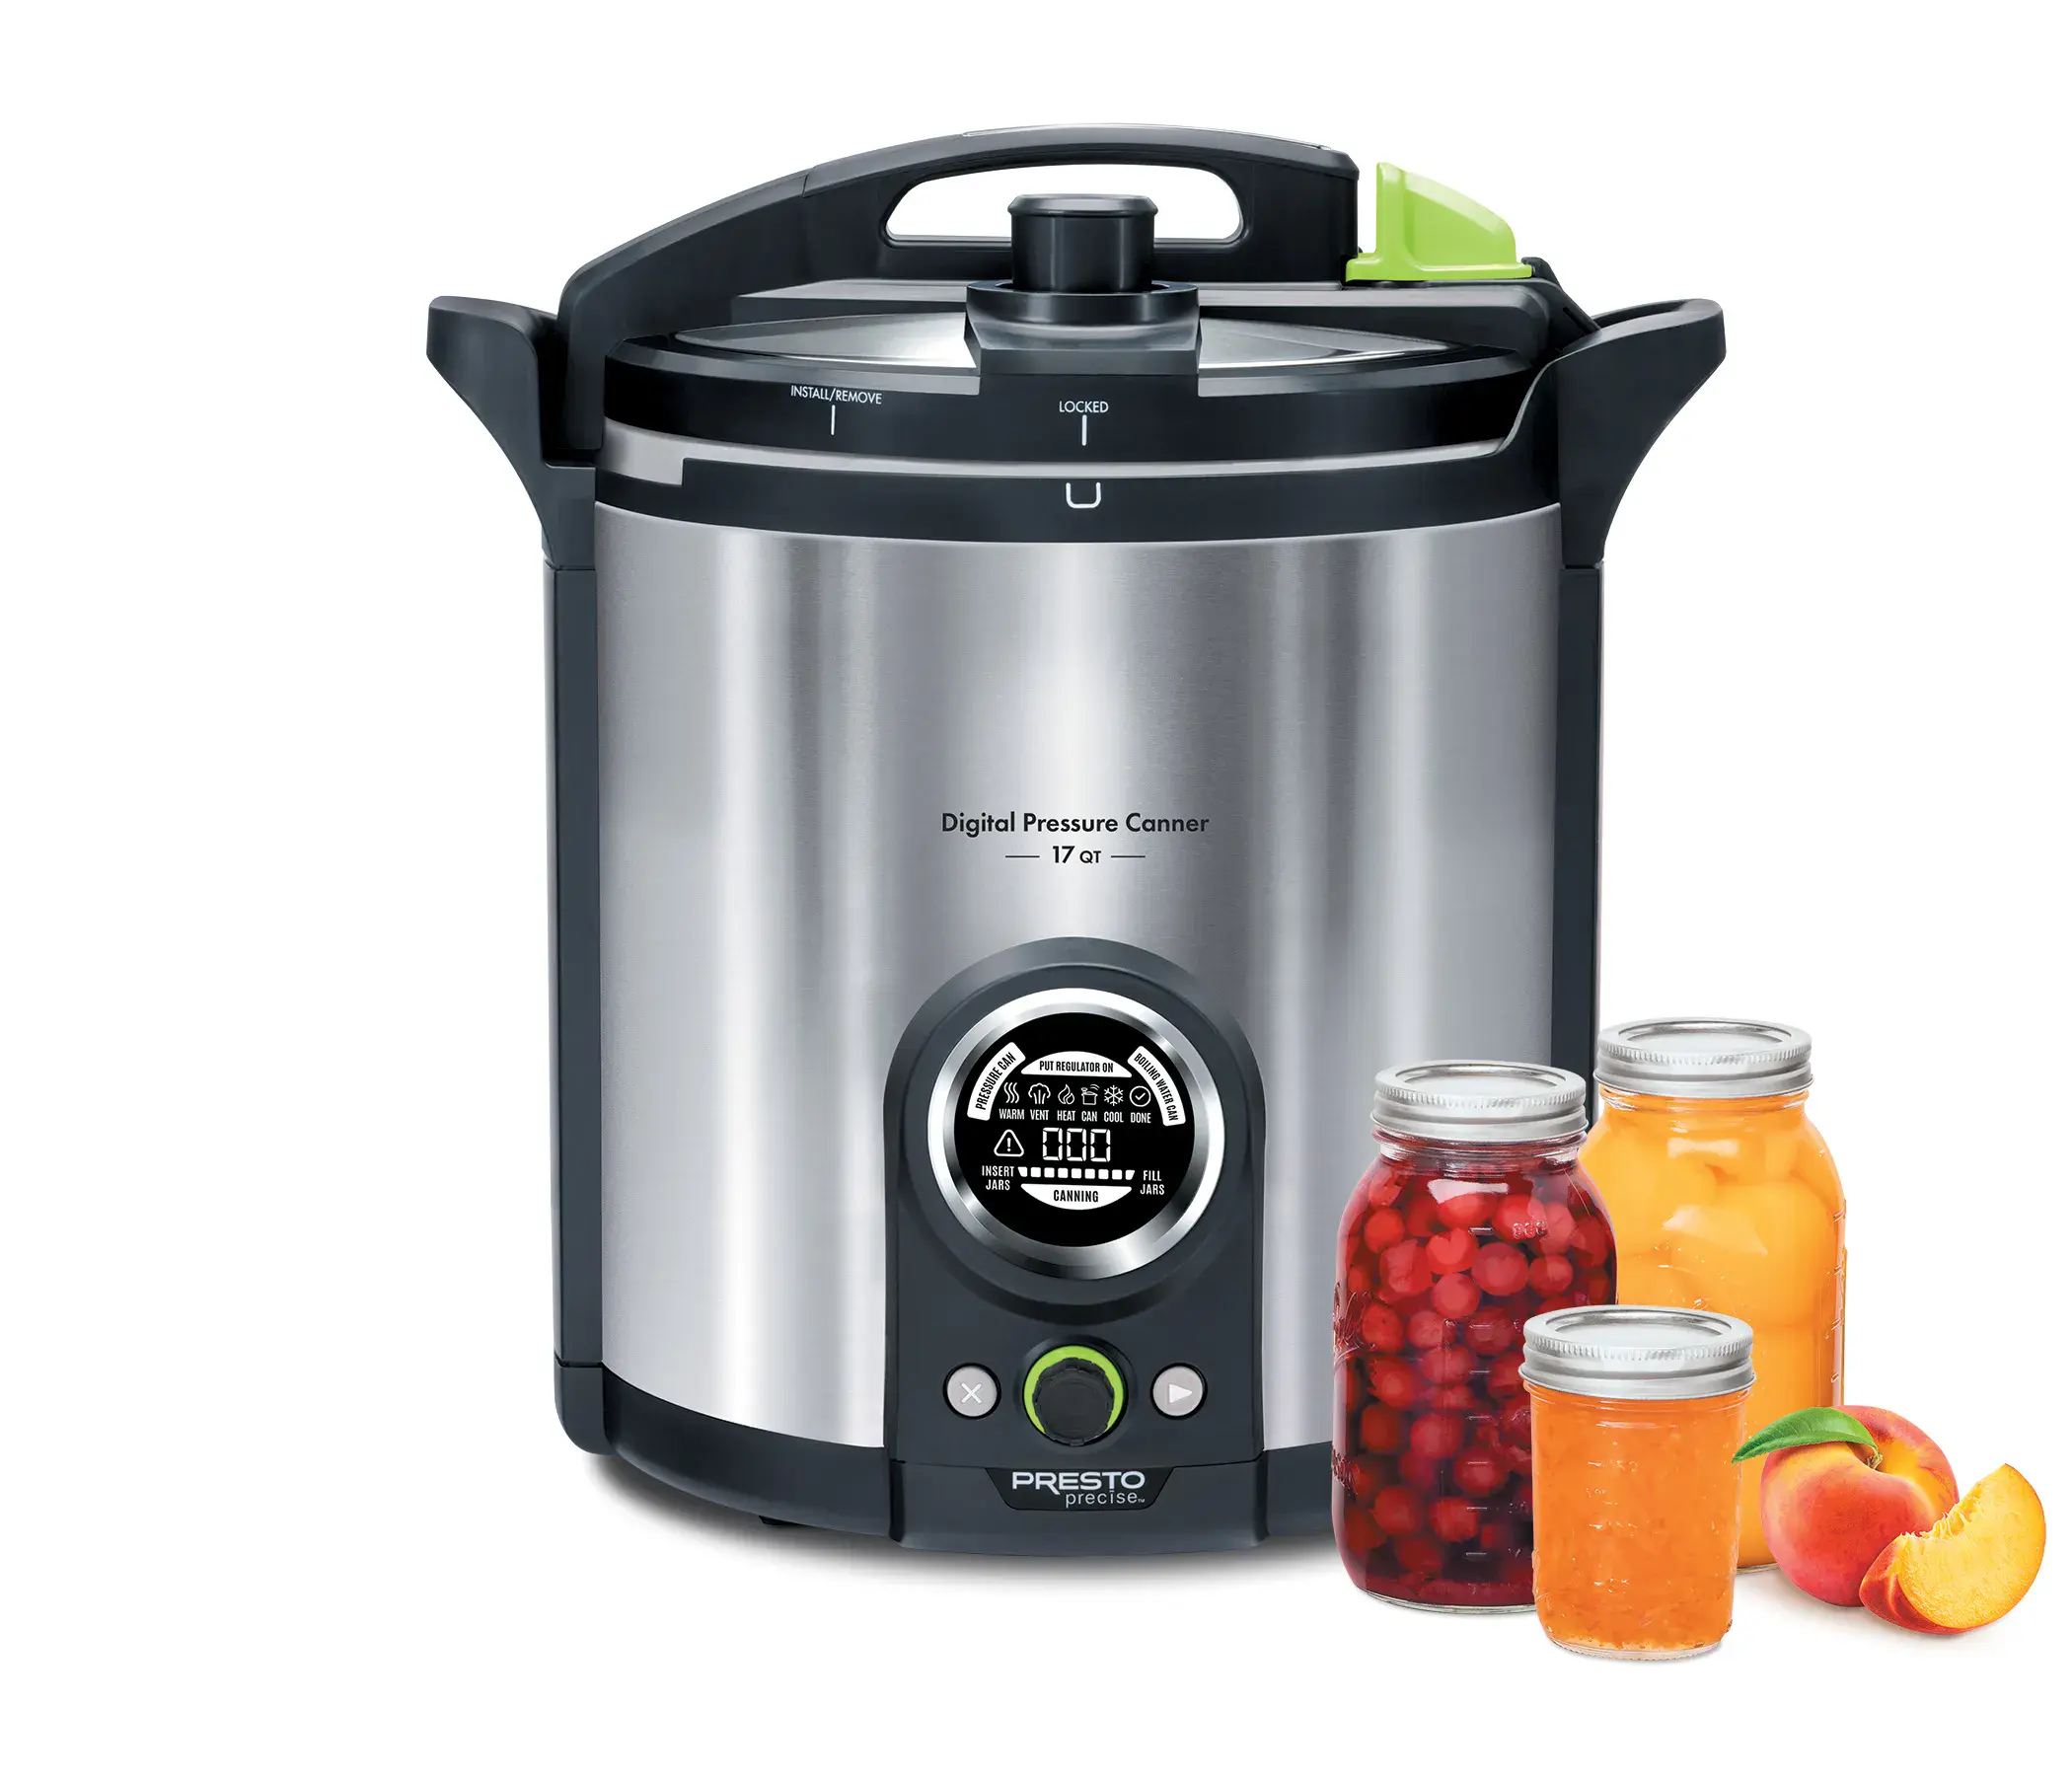
Electric Pressure Cookers
You probably know these by brand names like Instant Pot. These are all-in-one countertop appliances with a built-in heating element. They are incredibly user-friendly, with “set it and forget it” functionality. They regulate their own pressure (usually around 10-12 PSI) and often come with extra features like sauté, slow cook, and yogurt making. For most people, an electric pressure cooker is the perfect starting point.
So, Exactly How Long to Cook Chicken in a Pressure Cooker?
Alright, let’s get to the main event. The answer isn’t a single number; it depends on the cut of chicken, whether it has bones, and if it’s fresh or frozen. The key is that we’re cooking with high-pressure steam, which cooks food up to 70% faster than traditional methods.
Here is a handy chart to get you started. Remember, these times are for cooking at high pressure and do not include the time it takes for the pot to come to pressure (usually 10-15 minutes).
| Cut of Chicken | State | High Pressure Cook Time | Release Method |
|---|---|---|---|
| Boneless, Skinless Breasts | Fresh | 6-8 minutes | 5-10 min Natural Release |
| Boneless, Skinless Thighs | Fresh | 8-10 minutes | 10 min Natural Release |
| Bone-In Thighs or Drumsticks | Fresh | 10-12 minutes | 10 min Natural Release |
| Whole Chicken (3-4 lbs) | Fresh | 6 minutes per pound | 15 min Natural Release |
| Frozen Boneless Breasts | Frozen | 10-12 minutes | 5-10 min Natural Release |
| Frozen Bone-In Pieces | Frozen | 15-20 minutes | 10 min Natural Release |
Expert Tip: “The most common mistake people make is using the Quick Release for meats like chicken,” says Chef David Chen, author of ‘Pressure Perfect Meals’. “Allowing the pressure to release naturally for at least 5-10 minutes lets the muscle fibers relax and reabsorb moisture, which is the secret to incredibly tender results.”
What Affects the Cooking Time?
- Size and Thickness: A massive chicken breast will naturally take longer than a thin one. If your breasts are particularly thick, aim for the higher end of the time range.
- Bone-In vs. Boneless: Bones act as insulators, so bone-in cuts require a few extra minutes to cook through. The reward? More flavor and moisture.
- Frozen vs. Thawed: You can absolutely cook chicken from frozen—it’s a lifesaver on busy nights! Just add about 50% to the original cook time.
- Natural Release vs. Quick Release: This is crucial.
- Natural Release (NR): You simply turn off the heat (or let the “keep warm” cycle start) and let the pressure drop on its own. This is gentle and best for meats.
- Quick Release (QR): You manually turn the steam release valve to vent all the steam at once. This is great for vegetables you don’t want to overcook, but it can make meat tough.
Your Pressure Cooking Safety Checklist
The first time I used my pressure cooker, I’ll admit I was a little nervous. But modern pressure cookers are built with multiple safety features. Just follow these simple rules, and you’ll be perfectly safe.
- Don’t Overfill: Never fill your pressure cooker more than two-thirds full for most foods, and only half-full for foods that expand, like beans or grains. There’s a max-fill line inside the pot for a reason!
- Check Your Gasket: The silicone ring inside the lid is what creates the seal. Before each use, make sure it’s clean, free of cracks, and seated properly.
- Add Enough Liquid: You need at least one cup of liquid (water, broth, etc.) to create the steam that builds pressure. Cooking without liquid is a big no-no.
- Lock the Lid: Ensure the lid is securely locked in place before you start. You’ll usually hear a little jingle or click.
- Keep the Valve Clear: Make sure the steam release valve and float valve are clean and free of debris.
Common Mistakes to Avoid (I’ve Made Them So You Don’t Have To)
- Not Enough Liquid: As mentioned, this is the cardinal sin of pressure cooking. No liquid means no steam, no pressure, and burnt food.
- Forgetting to Deglaze: If you use the sauté function to brown your chicken first (which you totally should for extra flavor!), make sure to scrape up all the browned bits from the bottom of the pot with a splash of liquid before sealing the lid. This prevents the dreaded “Burn” error.
- Using the Wrong Release Method: Using a quick release on your chicken will result in a sad, tough piece of meat. Patience and a natural release are your best friends here.
|
Our Picks for the Best Pressure Cooker in 2025
As an Amazon Associate, we earn from qualifying purchases.
|
||
| Num | Product | Action |
|---|---|---|
| 1 | COSORI Pressure Cooker 6QT, Stainless Steel, 9-in-1 Multi Cooker, 12 Safety Features, Ceramic Inner Pot, Rice, Slow Cook, Sous Vide, Saute, 1100W |

|
| 2 | DUMOS 12-in-1 Electric Pressure Cooker 6 QT Stainless Steel Multi Cooker Electric for Pressure, Rice, Steamer, Yogurt Maker, Slow Cook,Meat Stew, Cake, Porridge, Multigrain, Sliver |
|
| 3 | Safety Stainless Steel Pressure Cooker, 7.4 Qt with Release Valve & Multiple Protective Devices, Cooking Pressure Canner for Steam, Canning, Stewing on All Stovetops |
|
| 4 | CHEF iQ Smart Pressure Cooker with WiFi and Built-in Scale - Easy-to-Use 10-in-1 Multicooker with 500+ Guided Recipes - Rice Cooker, Slow Cooker, Instant Meals for Foodies - 6 Quart - Family Size |
|
| 5 | Instant Pot Duo 7-in-1 Electric Pressure Cooker, Slow Cooker, Rice, Steamer, Sauté, Yogurt Maker, Warmer & Sterilizer, Includes App With Over 800 Recipes, Stainless Steel, 6 Quart |
|
| 6 | HealSmart 12-in-1 Multi Electric Pressure Cooker, Non-Stick 6QT Stainless Steel Pressure Cooker for Yogurt Maker, Slow Cooker, Cake, Multigrain, Dishwasher Safe |
|
| 7 | Presto 01362 6-Quart Stainless Steel Pressure Cooker |
|
| 8 | Our Place Dream Cooker | 6-quart Multicooker | 4 Versatile Modes | Pressure Cook, Slow Cook, Sear & Saute, Keep Warm | Hands-Free Steam Release | Tailored Control Panel | Steam |
|
| 9 | Visit the CUCKOO Store |
|
| 10 | Instant Pot Duo 7-in-1 Mini Electric Pressure Cooker, Slow Rice Cooker, Steamer, Sauté, Yogurt Maker, Warmer & Sterilizer, Includes Free App with over 1900 Recipes, Stainless Steel, 3 Quart |
|
The Undeniable Benefits of Your Pressure Cooker
Why go through all this? Because the rewards are huge.
- Speed: A whole chicken cooked in under 30 minutes? Yes, please. It’s a game-changer for weeknight meals.
- Flavor: The high-pressure environment forces moisture and flavor deep into the meat, resulting in more intense, delicious food.
- Nutrition: Faster cooking times mean less nutrient degradation. Your food retains more of its vitamins and minerals compared to boiling or long simmering.
- Energy Efficiency: Because it cooks so fast, a pressure cooker uses significantly less energy than an oven or stovetop.
Keeping Your Cooker in Tip-Top Shape
A little maintenance goes a long way. After each use, make sure to wash the inner pot, the lid, and the silicone sealing ring. I like to hand-wash the lid and ring to help them last longer. Every so often, pop out the steam valve and float valve (check your manual) to give them a thorough cleaning. A clean cooker is a happy and effective cooker.
Frequently Asked Questions (FAQ)
How much water do I need to cook chicken in a pressure cooker?
As a general rule, you need at least 1 cup of liquid (like water, chicken broth, or sauce) for an electric pressure cooker to build pressure correctly. This liquid creates the steam essential for the cooking process.
Can you put frozen chicken in a pressure cooker?
Absolutely! This is one of the best features. You don’t need to thaw it first. Just increase the cook time by about 50%. For example, a boneless chicken breast that takes 8 minutes fresh will need about 12 minutes from frozen.
Why is my pressure cooker chicken tough?
This is almost always caused by one of two things: using the quick release method instead of a natural release, or overcooking. A quick release forces the moisture out of the meat. Always let the pressure release naturally for at least 5-10 minutes.
Should I brown the chicken before pressure cooking?
While not strictly necessary, browning the chicken using the sauté function adds a huge depth of flavor through the Maillard reaction. It’s an extra step that is well worth the five minutes it takes.
What is the difference between natural release and quick release?
Natural release means you let the pressure dissipate on its own without touching the valve, which can take 10-25 minutes. Quick release involves immediately turning the steam valve to vent the pressure. For chicken, a partial natural release (waiting 10 minutes then venting the rest) is the perfect compromise.
Your New Favorite Kitchen Tool
Mastering how long to cook chicken in a pressure cooker is the key to unlocking a world of fast, flavorful, and healthy meals. It might seem intimidating at first, but once you understand the basic principles of timing, liquid, and pressure release, you’ll wonder how you ever lived without it. So go ahead, grab that chicken, fire up your pressure cooker, and get ready to enjoy one of the most succulent and speedy meals of your life. For more tips and tricks, be sure to explore our other guides to pressure cooking basics.