Tired of canned beans and the endless simmering required for dried ones? I get it. For years, I thought making perfect, creamy beans from scratch was a weekend-only affair. That all changed when I discovered the magic of How To Cook Beans In A Pressure Cooker. This single appliance transformed my kitchen, turning what was once a chore into a quick, weeknight-friendly task. It’s not just about speed; it’s about flavor, texture, and nutrition that you just can’t get from a can. Forget mushy, bland results. We’re about to unlock the secret to perfectly cooked, flavorful beans every single time.
Why Use a Pressure Cooker for Beans Anyway?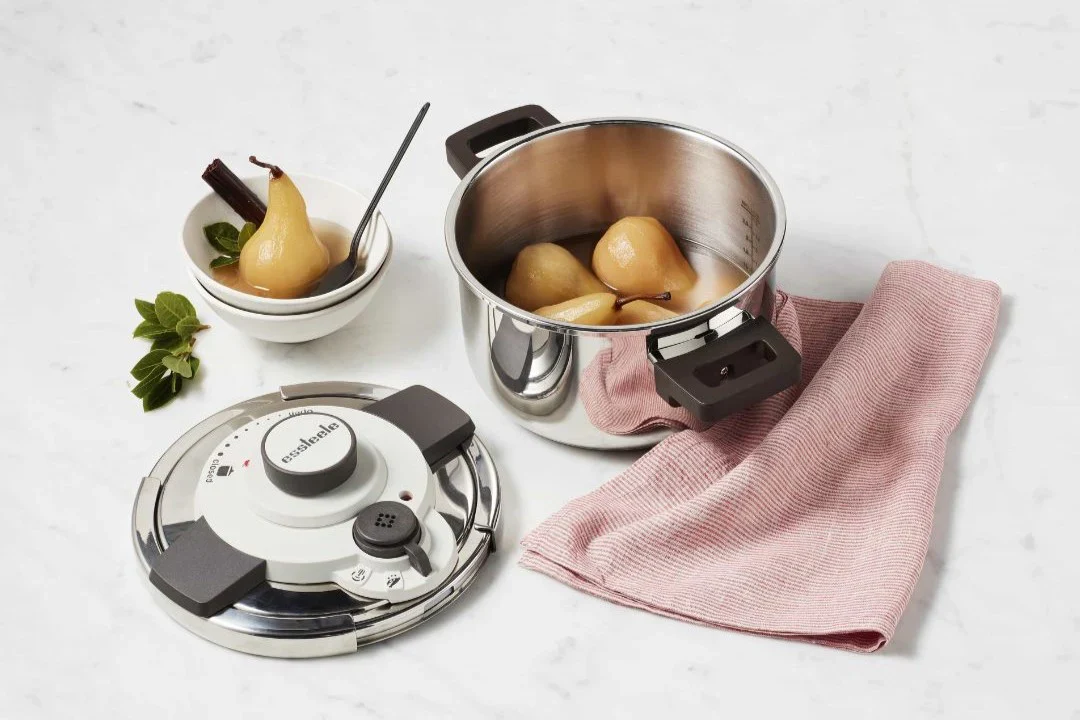
So, what’s all the fuss about? Why should you bother using a pressure cooker when you can just boil beans on the stove? The answer comes down to science, but let’s keep it simple.
A pressure cooker works by trapping steam inside a sealed pot. This trapped steam increases the atmospheric pressure, which in turn raises the boiling point of water. Think of it like this: at high altitudes, water boils at a lower temperature, making cooking take forever. A pressure cooker does the opposite; it creates a “low-altitude” environment right on your countertop, allowing food to cook at a much higher temperature.
For beans, this means:
- Incredible Speed: Cooking time is slashed by up to 70%. A pot of chickpeas that takes over an hour on the stove can be done in about 15-20 minutes under pressure.
- Better Flavor Infusion: The high-pressure environment forces liquid and seasonings deep into the beans, resulting in a much more flavorful and well-seasoned final product.
- Perfect Texture: It tenderizes beans beautifully without turning them to mush, giving you that creamy-on-the-inside, firm-on-the-outside texture we all crave.
Whether you have a modern electric pressure cooker like an Instant Pot or a classic stovetop pressure cooker, the principles are the same. You’re about to make the best beans of your life.
The Great Debate: To Soak or Not to Soak?
Before we dive into the “how-to,” let’s tackle the age-old question: do you need to soak your beans? The short answer is: with a pressure cooker, you don’t have to. That’s one of its biggest advantages!
However, there are still some good reasons why you might choose to soak them:
Team No-Soak
If you’re short on time or simply forgot, you can cook beans directly from their dried state. This is a total game-changer for spontaneous meals. The cooking time will be longer, but it’s still significantly faster than the traditional stovetop method without soaking.
Team Soak
Soaking beans overnight (or for at least 8 hours) in water can help them cook more evenly and can also make them easier to digest. Some people find that it reduces the compounds that can cause gas. If you choose to soak, make sure to discard the soaking water and rinse the beans before cooking.
My personal experience? If I plan ahead, I soak. If I decide to make chili on a whim, I go straight from the bag to the pot. The pressure cooker handles both scenarios beautifully.
The Main Event: How to Cook Beans in a Pressure Cooker
Alright, let’s get down to business. This step-by-step guide will walk you through the process, making it foolproof even for absolute beginners.
What You’ll Need
- 1 pound (about 2 cups) of dried beans (e.g., black beans, pinto beans, chickpeas)
- 6-8 cups of water or broth
- 1-2 teaspoons of salt (add this after cooking for the creamiest texture)
- Optional aromatics: 1 onion (halved), 2-3 cloves of garlic (smashed), 1 bay leaf
The Step-by-Step Guide to Perfect Beans
- Rinse and Sort: First things first, pour your dried beans onto a baking sheet or a large plate. Sort through them and discard any small stones, debris, or shriveled beans. Give them a good rinse under cold water.
- Add to the Pot: Place the rinsed beans into the inner pot of your pressure cooker. Add your aromatics if you’re using them. This is where you can start building flavor!
- Cover with Liquid: Pour in enough water or broth to cover the beans by about 2-3 inches. A good rule of thumb is a 1:3 ratio of beans to water (e.g., 2 cups of beans to 6 cups of water). Crucial Safety Tip: Never fill your pressure cooker more than halfway full when cooking beans or other foods that expand and foam. This is vital to prevent the safety valve from getting clogged.
- Seal and Set: Secure the lid, making sure the steam release valve is in the “Sealing” position. For an electric model, you’ll typically select the “Manual” or “Pressure Cook” setting on High Pressure. For a stovetop model, you’ll turn the heat to high until it reaches pressure, then reduce the heat to maintain it.
- Cook Under Pressure: This is where the magic happens. The cooking time will vary depending on the type of bean and whether you soaked them. Refer to the chart below for a reliable guide. Learning how to cook beans in a pressure cooker is all about mastering these timings.
- Release the Pressure Naturally: Once the cooking time is up, do not use the quick release method. Releasing the pressure too fast can cause the beans to split and the hot, starchy liquid to spray out of the valve. Instead, let the pressure come down on its own. This is called a natural release. It usually takes about 15-25 minutes. You’ll know it’s done when the float valve drops.
- Season and Serve: Carefully open the lid away from your face. Remove the aromatics (like the bay leaf and onion halves). Stir in your salt now. Let the beans sit in the hot liquid for another 10-15 minutes to absorb the seasoning. And that’s it! You now have a pot of perfectly cooked beans.
|
Our Picks for the Best Pressure Cooker in 2025
As an Amazon Associate, we earn from qualifying purchases.
|
||
| Num | Product | Action |
|---|---|---|
| 1 | Instant Pot Duo 7-in-1 Mini Electric Pressure Cooker, Slow Rice Cooker, Steamer, Sauté, Yogurt Maker, Warmer & Sterilizer, Includes Free App with over 1900 Recipes, Stainless Steel, 3 Quart |

|
| 2 | Presto 01362 6-Quart Stainless Steel Pressure Cooker |
|
| 3 | COSORI Pressure Cooker 6QT, Stainless Steel, 9-in-1 Multi Cooker, 12 Safety Features, Ceramic Inner Pot, Rice, Slow Cook, Sous Vide, Saute, 1100W |
|
| 4 | DUMOS 12-in-1 Electric Pressure Cooker 6 QT Stainless Steel Multi Cooker Electric for Pressure, Rice, Steamer, Yogurt Maker, Slow Cook,Meat Stew, Cake, Porridge, Multigrain, Sliver |
|
| 5 | HealSmart 12-in-1 Multi Electric Pressure Cooker, Non-Stick 6QT Stainless Steel Pressure Cooker for Yogurt Maker, Slow Cooker, Cake, Multigrain, Dishwasher Safe |
|
| 6 | Visit the CUCKOO Store |
|
| 7 | Instant Pot Duo 7-in-1 Electric Pressure Cooker, Slow Cooker, Rice, Steamer, Sauté, Yogurt Maker, Warmer & Sterilizer, Includes App With Over 800 Recipes, Stainless Steel, 6 Quart |
|
| 8 | Safety Stainless Steel Pressure Cooker, 7.4 Qt with Release Valve & Multiple Protective Devices, Cooking Pressure Canner for Steam, Canning, Stewing on All Stovetops |
|
| 9 | Our Place Dream Cooker | 6-quart Multicooker | 4 Versatile Modes | Pressure Cook, Slow Cook, Sear & Saute, Keep Warm | Hands-Free Steam Release | Tailored Control Panel | Steam |
|
| 10 | CHEF iQ Smart Pressure Cooker with WiFi and Built-in Scale - Easy-to-Use 10-in-1 Multicooker with 500+ Guided Recipes - Rice Cooker, Slow Cooker, Instant Meals for Foodies - 6 Quart - Family Size |
|
Pressure Cooker Bean Cooking Time Chart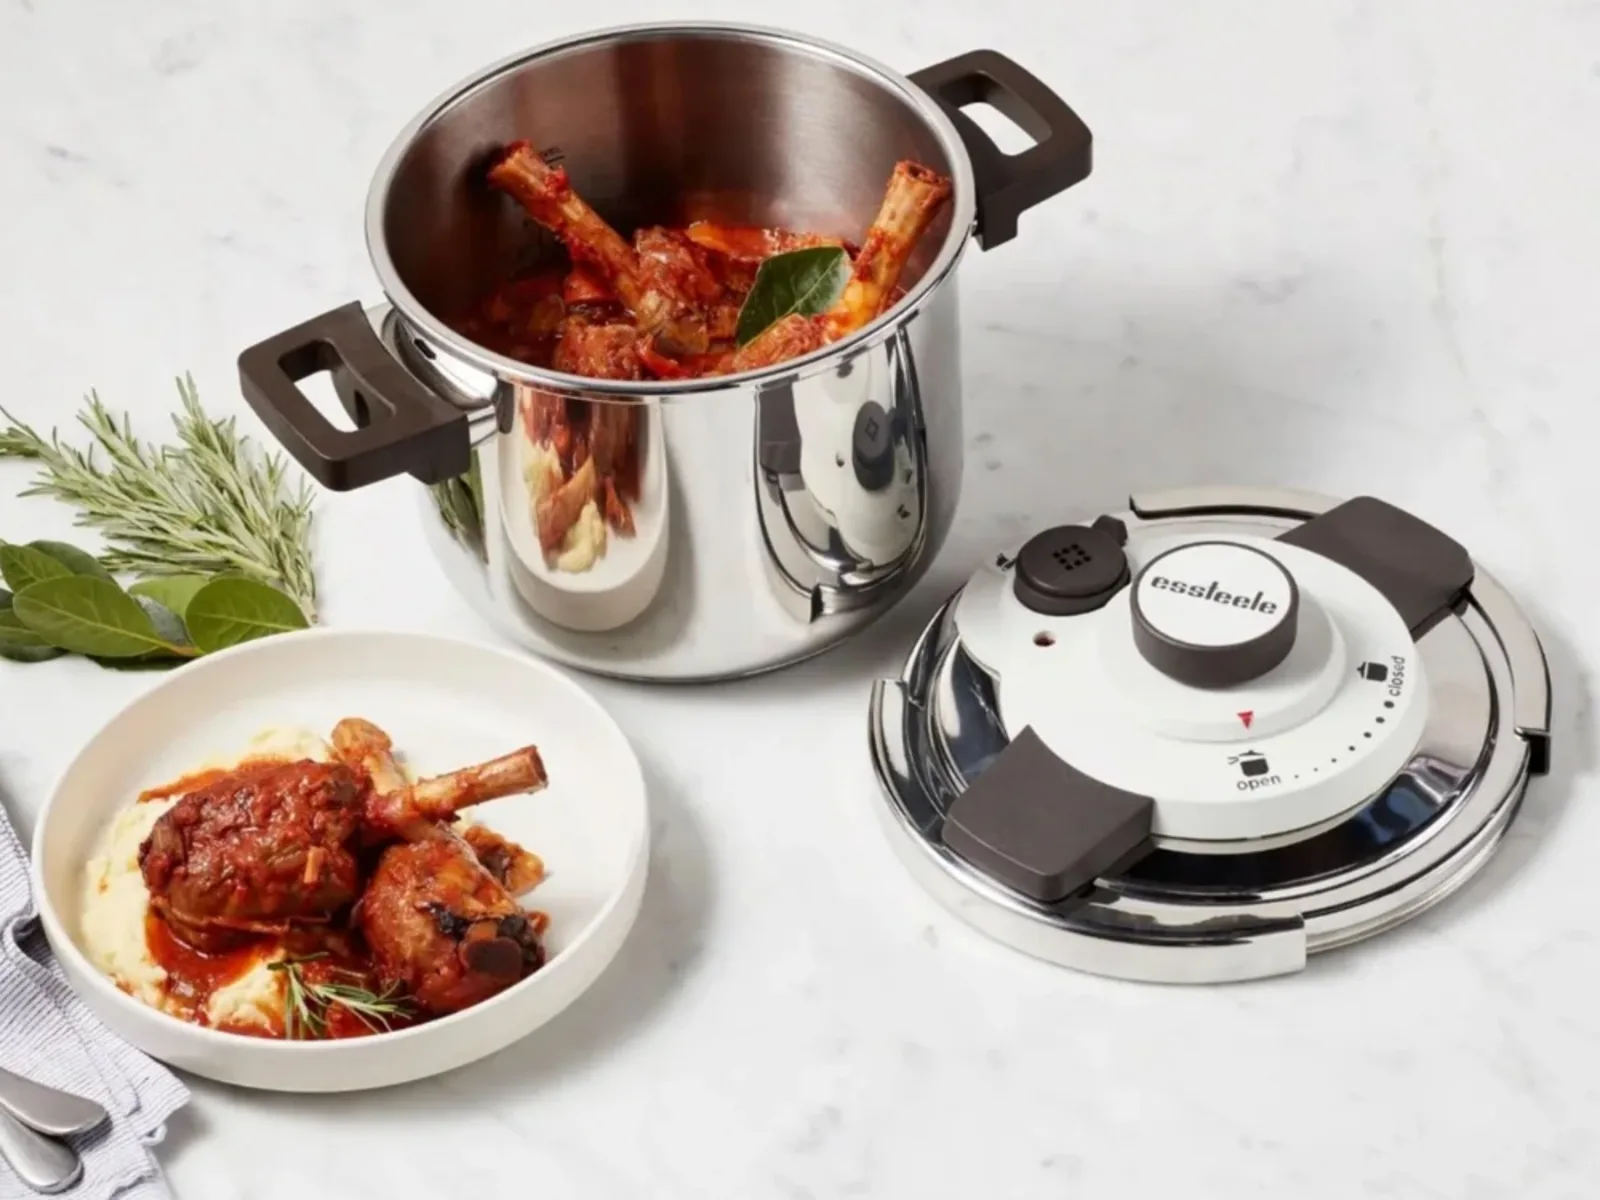
This chart is a great starting point. Remember that older beans may take a little longer to cook.
| Bean Type | Soaked Cooking Time (High Pressure) | Unsoaked Cooking Time (High Pressure) |
|---|---|---|
| Black Beans | 5-9 minutes | 20-25 minutes |
| Pinto Beans | 6-8 minutes | 25-30 minutes |
| Kidney Beans | 8-10 minutes | 25-30 minutes |
| Chickpeas (Garbanzo) | 12-15 minutes | 35-40 minutes |
| Great Northern | 8-10 minutes | 30-35 minutes |
Expert Tip: As renowned kitchen equipment specialist, Benjamin Carter, often says, “The biggest mistake people make is under-seasoning. Don’t be afraid to use broth instead of water and add aromatics. The pressure cooker will drive those flavors right into the core of every single bean.”
Common Mistakes to Avoid
My first few attempts weren’t perfect, and I learned a few things the hard way. Here are some common pitfalls to avoid when learning how to cook beans in a pressure cooker:
- Overfilling the Pot: As mentioned, never fill it more than halfway. Beans expand and foam, and you need to leave room for that.
- Not Enough Liquid: Beans absorb a lot of water. If you don’t add enough, you’ll get a “Burn” notice on an electric cooker and risk scorching them on a stovetop model.
- Using Quick Release: Patience is key. A quick release is great for veggies, but for foamy foods like beans, it’s a recipe for a starchy mess on your ceiling. Always use a natural release.
- Adding Salt or Acid Too Early: Adding salt, tomatoes, or vinegar at the beginning can sometimes prevent the beans from becoming fully tender. It’s best to add these ingredients after the pressure cooking is complete. For more tips on what not to do, check out our guide on common pressure cooking mistakes.
Frequently Asked Questions (FAQ)
How do I know if my beans are cooked?
After the natural release, scoop a few beans out and taste them. They should be tender and creamy all the way through, not chalky or hard in the center. If they’re not done, you can simply seal the pot and cook them for another 5-10 minutes under pressure.
Why are my pressure cooker beans still hard?
This can happen for a few reasons. Your beans might be old (dried beans lose moisture over time and take longer to cook), or you may not have cooked them long enough. Hard water can also sometimes interfere with the softening process. Just add a bit more time!
Can I cook different types of beans together?
It’s generally not recommended unless they have very similar cooking times. A black bean will be mush long before a chickpea is tender. For best results, cook each type of bean separately.
What do I do with the cooking liquid from the beans?
Don’t throw it out! This starchy, flavorful liquid (sometimes called “pot liquor”) is amazing. You can use it to thin out soups, stews, or chili, or as a base for sauces. It adds body and a ton of flavor.
How do I store leftover pressure-cooked beans?
Let them cool completely, then store them in an airtight container in the refrigerator with some of their cooking liquid to keep them from drying out. They’ll last for about 4-5 days. They also freeze beautifully for up to 6 months.
Your Kitchen’s New Best Friend
Learning how to cook beans in a pressure cooker isn’t just about learning a new recipe; it’s about unlocking a new level of convenience and flavor in your kitchen. You’ll save money, reduce waste from cans, and have complete control over the ingredients. From creamy hummus and hearty chili to simple beans and rice, this one skill opens up a world of delicious possibilities. So go ahead, dust off that pressure cooker, grab a bag of dried beans, and get ready to be amazed.