Let’s be honest, cooking rice on the stovetop can be a bit of a gamble. One minute you’re dreaming of fluffy, separate grains, and the next you’re scraping a burnt, sticky mess from the bottom of a pot. I’ve been there more times than I care to admit. But everything changed when I discovered How To Cook Rice In An Instant Pot. This amazing kitchen gadget isn’t just for stews and roasts; it’s a secret weapon for achieving perfectly cooked rice, every single time. It’s faster, completely hands-off, and delivers results that will make you ditch your old stovetop method for good.
Why Use an Instant Pot for Rice?
Before we dive into the nitty-gritty, you might be asking, “What’s the big deal?” An electric pressure cooker like the Instant Pot creates a sealed, high-pressure environment. Think of it as a supercharged steamer. This method has a few key advantages over traditional cooking. Less water evaporates, meaning you can be incredibly precise with your measurements. The high pressure forces moisture into each grain quickly and evenly, resulting in a consistent texture from top to bottom. No more crunchy tops and gummy bottoms!
The Golden Rule: The 1:1 Water-to-Rice Ratio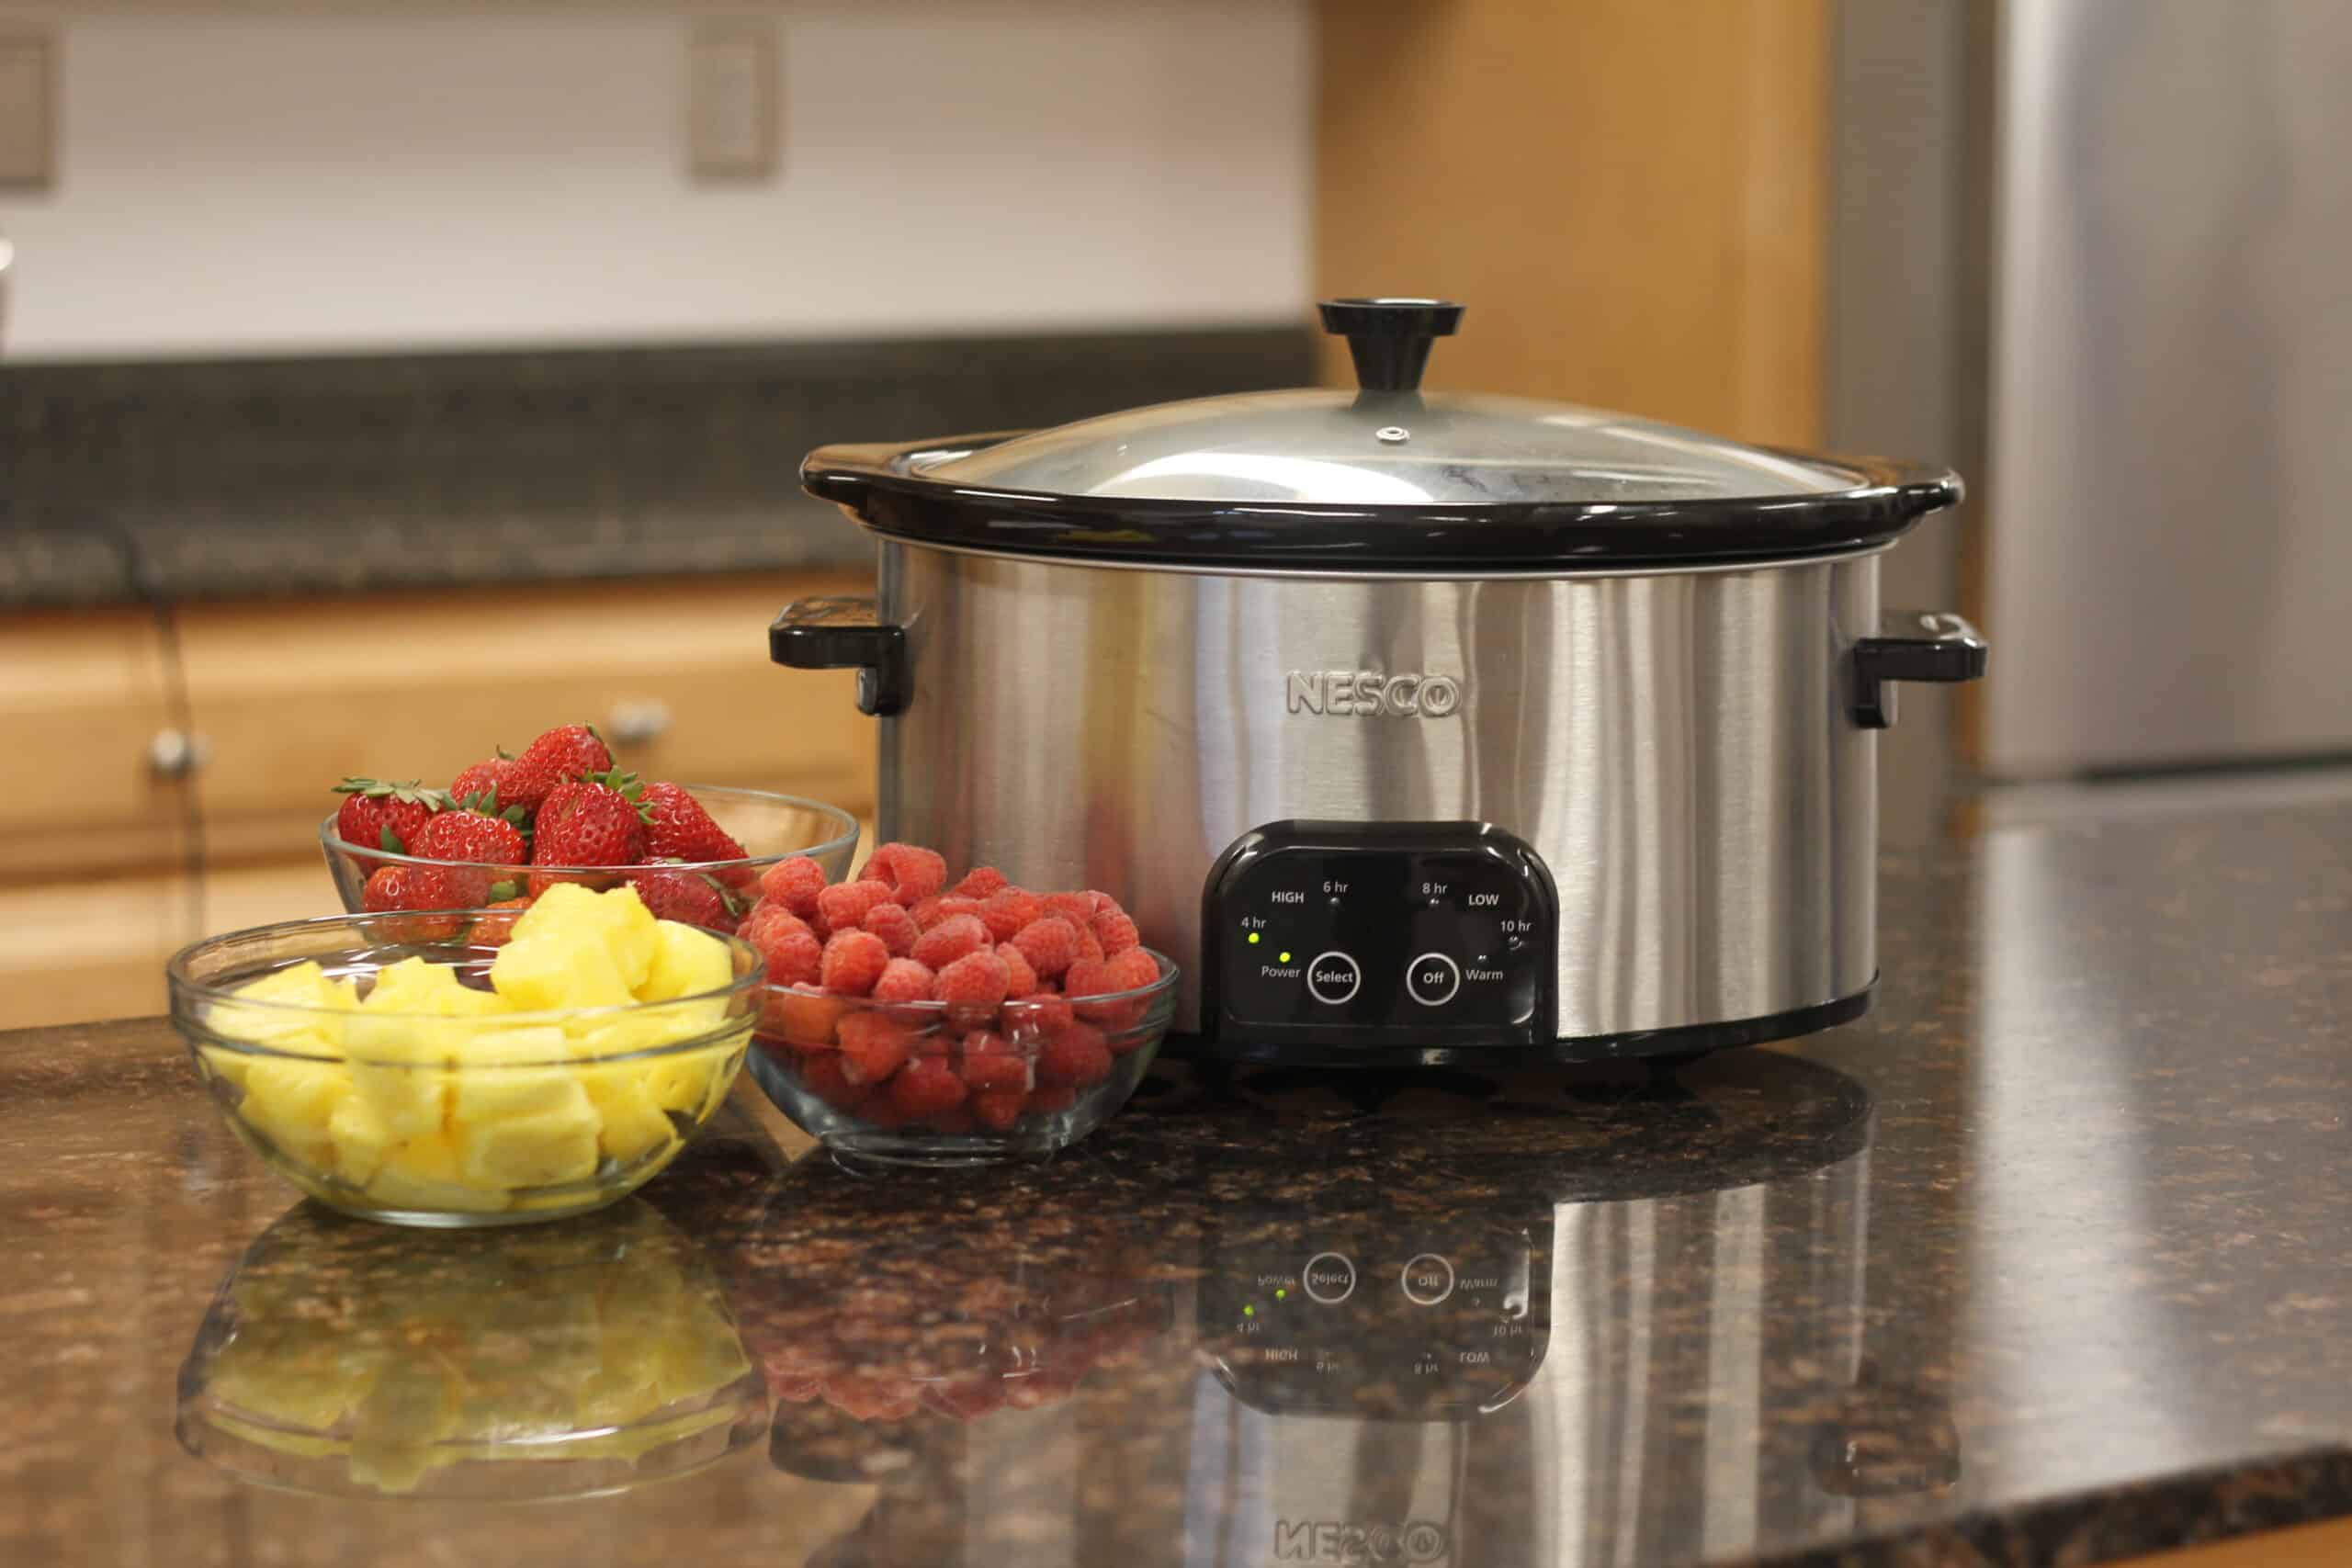
Forget everything you’ve learned about the 2:1 ratio for stovetop rice. In the sealed world of an Instant Pot, the magic number is 1:1. That means one cup of water for every one cup of rice.
Why the change? On the stove, a significant amount of water boils off as steam. You need that extra water to compensate for the loss. In an Instant Pot, the lid is sealed, and very little steam escapes. Therefore, you only need enough water to be absorbed by the rice itself. Sticking to this ratio is the single most important step for getting that coveted fluffy texture.
“The beauty of pressure cooking rice is its precision. The sealed environment eliminates guesswork, and the 1:1 ratio is a testament to that efficiency. Trust the ratio, and the pot will do the rest.” – Chef Isabella Rossi, Culinary Technology Expert
How to Cook Rice in an Instant Pot: The Step-by-Step Method
Ready to make the best rice of your life? It’s incredibly simple. Just follow these steps, and you’ll be a pro in no time. For this guide, we’ll focus on standard long-grain white rice, like jasmine or basmati.
- Rinse Your Rice: This is a non-negotiable step! Place your rice in a fine-mesh sieve and rinse it under cool, running water. Swirl it around with your hand until the water runs clear. Why is this so important? Rinsing removes excess surface starch, which is the main culprit behind gummy, clumpy rice. This simple action is the key to getting light, fluffy, individual grains.
- Add to the Pot: Transfer your rinsed rice to the inner pot of your Instant Pot. Add an equal amount of water. So, for 1 cup of rice, add 1 cup of water. For 2 cups of rice, add 2 cups of water. You can also add a pinch of salt and a small pat of butter or a teaspoon of oil for extra flavor and separation, but this is optional.
- Seal the Deal: Place the lid on the Instant Pot and turn it to lock. Make sure the steam release valve on the lid is turned to the “Sealing” position. This is crucial for the pot to build pressure. My first time, I forgot this step and wondered why nothing was happening—a classic rookie mistake!
- Set the Cook Time: Now for the settings. You have two main options:
- The “Rice” Button: Most Instant Pot models have a preset “Rice” button. This function is specifically calibrated for white rice. It uses low pressure and automatically calculates the cooking time. It’s a great “set it and forget it” option.
- Manual/Pressure Cook: Alternatively, you can press the “Manual” or “Pressure Cook” button. Use the “-” and “+” buttons to set the time to 4 minutes at Low Pressure. For a slightly firmer texture, try 3 minutes.
- The All-Important Release: Once the cooking cycle is complete, the Instant Pot will beep. Now, do not immediately release the pressure. You need to let the pot sit for 10 minutes for a Natural Release. During this time, the rice is finishing its cooking and absorbing the last bits of steam. This resting period is critical for the final texture.
- Vent and Fluff: After 10 minutes have passed, carefully turn the steam release valve to the “Venting” position to perform a Quick Release of any remaining pressure. Use a long-handled spoon to avoid the hot steam. Once the float valve drops, it’s safe to open the lid. Use a fork or a rice paddle to gently fluff the rice, and you’re ready to serve.
|
Our Picks for the Best Pressure Cooker in 2025
As an Amazon Associate, we earn from qualifying purchases.
|
||
| Num | Product | Action |
|---|---|---|
| 1 | Instant Pot Duo 7-in-1 Mini Electric Pressure Cooker, Slow Rice Cooker, Steamer, Sauté, Yogurt Maker, Warmer & Sterilizer, Includes Free App with over 1900 Recipes, Stainless Steel, 3 Quart |

|
| 2 | COSORI Pressure Cooker 6QT, Stainless Steel, 9-in-1 Multi Cooker, 12 Safety Features, Ceramic Inner Pot, Rice, Slow Cook, Sous Vide, Saute, 1100W |
|
| 3 | HealSmart 12-in-1 Multi Electric Pressure Cooker, Non-Stick 6QT Stainless Steel Pressure Cooker for Yogurt Maker, Slow Cooker, Cake, Multigrain, Dishwasher Safe |
|
| 4 | Our Place Dream Cooker | 6-quart Multicooker | 4 Versatile Modes | Pressure Cook, Slow Cook, Sear & Saute, Keep Warm | Hands-Free Steam Release | Tailored Control Panel | Steam |
|
| 5 | Instant Pot Duo 7-in-1 Electric Pressure Cooker, Slow Cooker, Rice, Steamer, Sauté, Yogurt Maker, Warmer & Sterilizer, Includes App With Over 800 Recipes, Stainless Steel, 6 Quart |
|
| 6 | DUMOS 12-in-1 Electric Pressure Cooker 6 QT Stainless Steel Multi Cooker Electric for Pressure, Rice, Steamer, Yogurt Maker, Slow Cook,Meat Stew, Cake, Porridge, Multigrain, Sliver |
|
| 7 | Visit the CUCKOO Store |
|
| 8 | CHEF iQ Smart Pressure Cooker with WiFi and Built-in Scale - Easy-to-Use 10-in-1 Multicooker with 500+ Guided Recipes - Rice Cooker, Slow Cooker, Instant Meals for Foodies - 6 Quart - Family Size |
|
| 9 | Safety Stainless Steel Pressure Cooker, 7.4 Qt with Release Valve & Multiple Protective Devices, Cooking Pressure Canner for Steam, Canning, Stewing on All Stovetops |
|
| 10 | Presto 01362 6-Quart Stainless Steel Pressure Cooker |
|
Cooking Different Types of Rice
Not all rice is created equal. Different varieties require slight adjustments in time and water. Here’s a handy cheat sheet for the most common types. Remember to always use the 10-minute Natural Release after the cook time is up.
| Rice Type | Water Ratio (Rice:Water) | Cook Time (High Pressure) | Release Method |
|---|---|---|---|
| Jasmine/Basmati | 1:1 | 4 minutes | 10 min Natural Release |
| Long-Grain White | 1:1 | 4 minutes | 10 min Natural Release |
| Brown Rice (Short/Long) | 1:1.25 | 22 minutes | 10 min Natural Release |
| Wild Rice | 1:1.5 | 28 minutes | 10 min Natural Release |
| Quinoa | 1:1.25 | 1 minute | 10 min Natural Release |
Common Mistakes to Avoid
Even with a foolproof machine, a few things can go wrong. Here are the most common pitfalls and how to steer clear of them:
- Forgetting to Rinse: As mentioned, this leads to sticky rice. Don’t skip it!
- Using the Wrong Water Ratio: Sticking to the 1:1 ratio for white rice is key. Adding too much water will result in a mushy texture.
- Instant Quick Release: Releasing the pressure immediately after cooking will give you wet, undercooked rice. The 10-minute natural release is essential for the rice to steam and set properly.
- Forgetting to Set the Valve to “Sealing”: If you don’t seal the valve, the pot will never come to pressure, and it will just boil the water away, likely triggering a “Burn” warning.
What is the Pot-in-Pot (PIP) Method?
The Pot-in-Pot (PIP) method involves placing a smaller, oven-safe container (like a stainless steel bowl) on a trivet inside your Instant Pot’s main liner. This is a fantastic technique for cooking smaller quantities of rice or for cooking rice alongside another dish, like chicken curry, in the main pot below. For PIP rice, you still use the 1:1 ratio inside the smaller bowl. The cook time remains the same.
Frequently Asked Questions (FAQ)
Here are some common questions we get about how to cook rice in an Instant Pot.
Why is my Instant Pot rice sticky or mushy?
The most likely causes are either not rinsing the rice thoroughly enough to remove the excess starch or adding too much water. Double-check that you’re using a precise 1:1 rice-to-water ratio.
Can I double the recipe?
Absolutely! You can cook as little as one cup or as much as will fit below the “PC MAX – 2/3” line in your pot. The amazing part is that the cook time and water ratio remain exactly the same, whether you’re cooking 1 cup or 4 cups of white rice.
What’s the difference between the “Rice” button and using “Manual/Pressure Cook”?
The “Rice” button is an automated, low-pressure setting that adjusts the time based on the volume of rice and water it senses. The “Manual/Pressure Cook” setting gives you complete control over the time and pressure level (High or Low). Both methods work great for white rice.
Do I have to use a 10-minute Natural Release for rice?
Yes, we highly recommend it. This resting period allows the pressure to drop gradually while the rice finishes cooking in the residual steam. Skipping this step and doing a full quick release will result in unevenly cooked, overly wet rice.
How do I adjust the recipe for high altitudes?
At high altitudes (above 3,000 feet), you may need to increase the cooking time by about 15-20%. You might also need to add a tablespoon or two of extra water. It’s best to do a small test batch to find the perfect timing for your location.
Your Rice Game, Perfected
Mastering how to cook rice in an Instant Pot is a true kitchen superpower. It saves time, delivers consistently delicious results, and frees you up to focus on the rest of your meal. Say goodbye to burnt pots and mushy grains forever. With the simple 1:1 ratio and a 10-minute natural release, you are on your way to perfect, fluffy rice that will elevate any dish. So go ahead, dust off that pressure cooker, and get ready to be amazed.